
Resin and hardener make up the two parts of an Epoxy Coat a Basement Floor. When you combine these two parts, a chemical reaction happens that makes your floor feel like hard plastic. It adheres to concrete and creates a finish that withstands moisture, stains, chemicals, and heavy foot traffic.
Basements have to deal with a lot of things, like moisture, dust, oil drips, and people walking through them regularly. Peeling paint is normal. Concrete that has bare cracks and stains. Epoxy doesn’t mind doing any of this.
Here is why homeowners always choose epoxy for their basements:
- It lasts 5 to 10 years with little maintenance
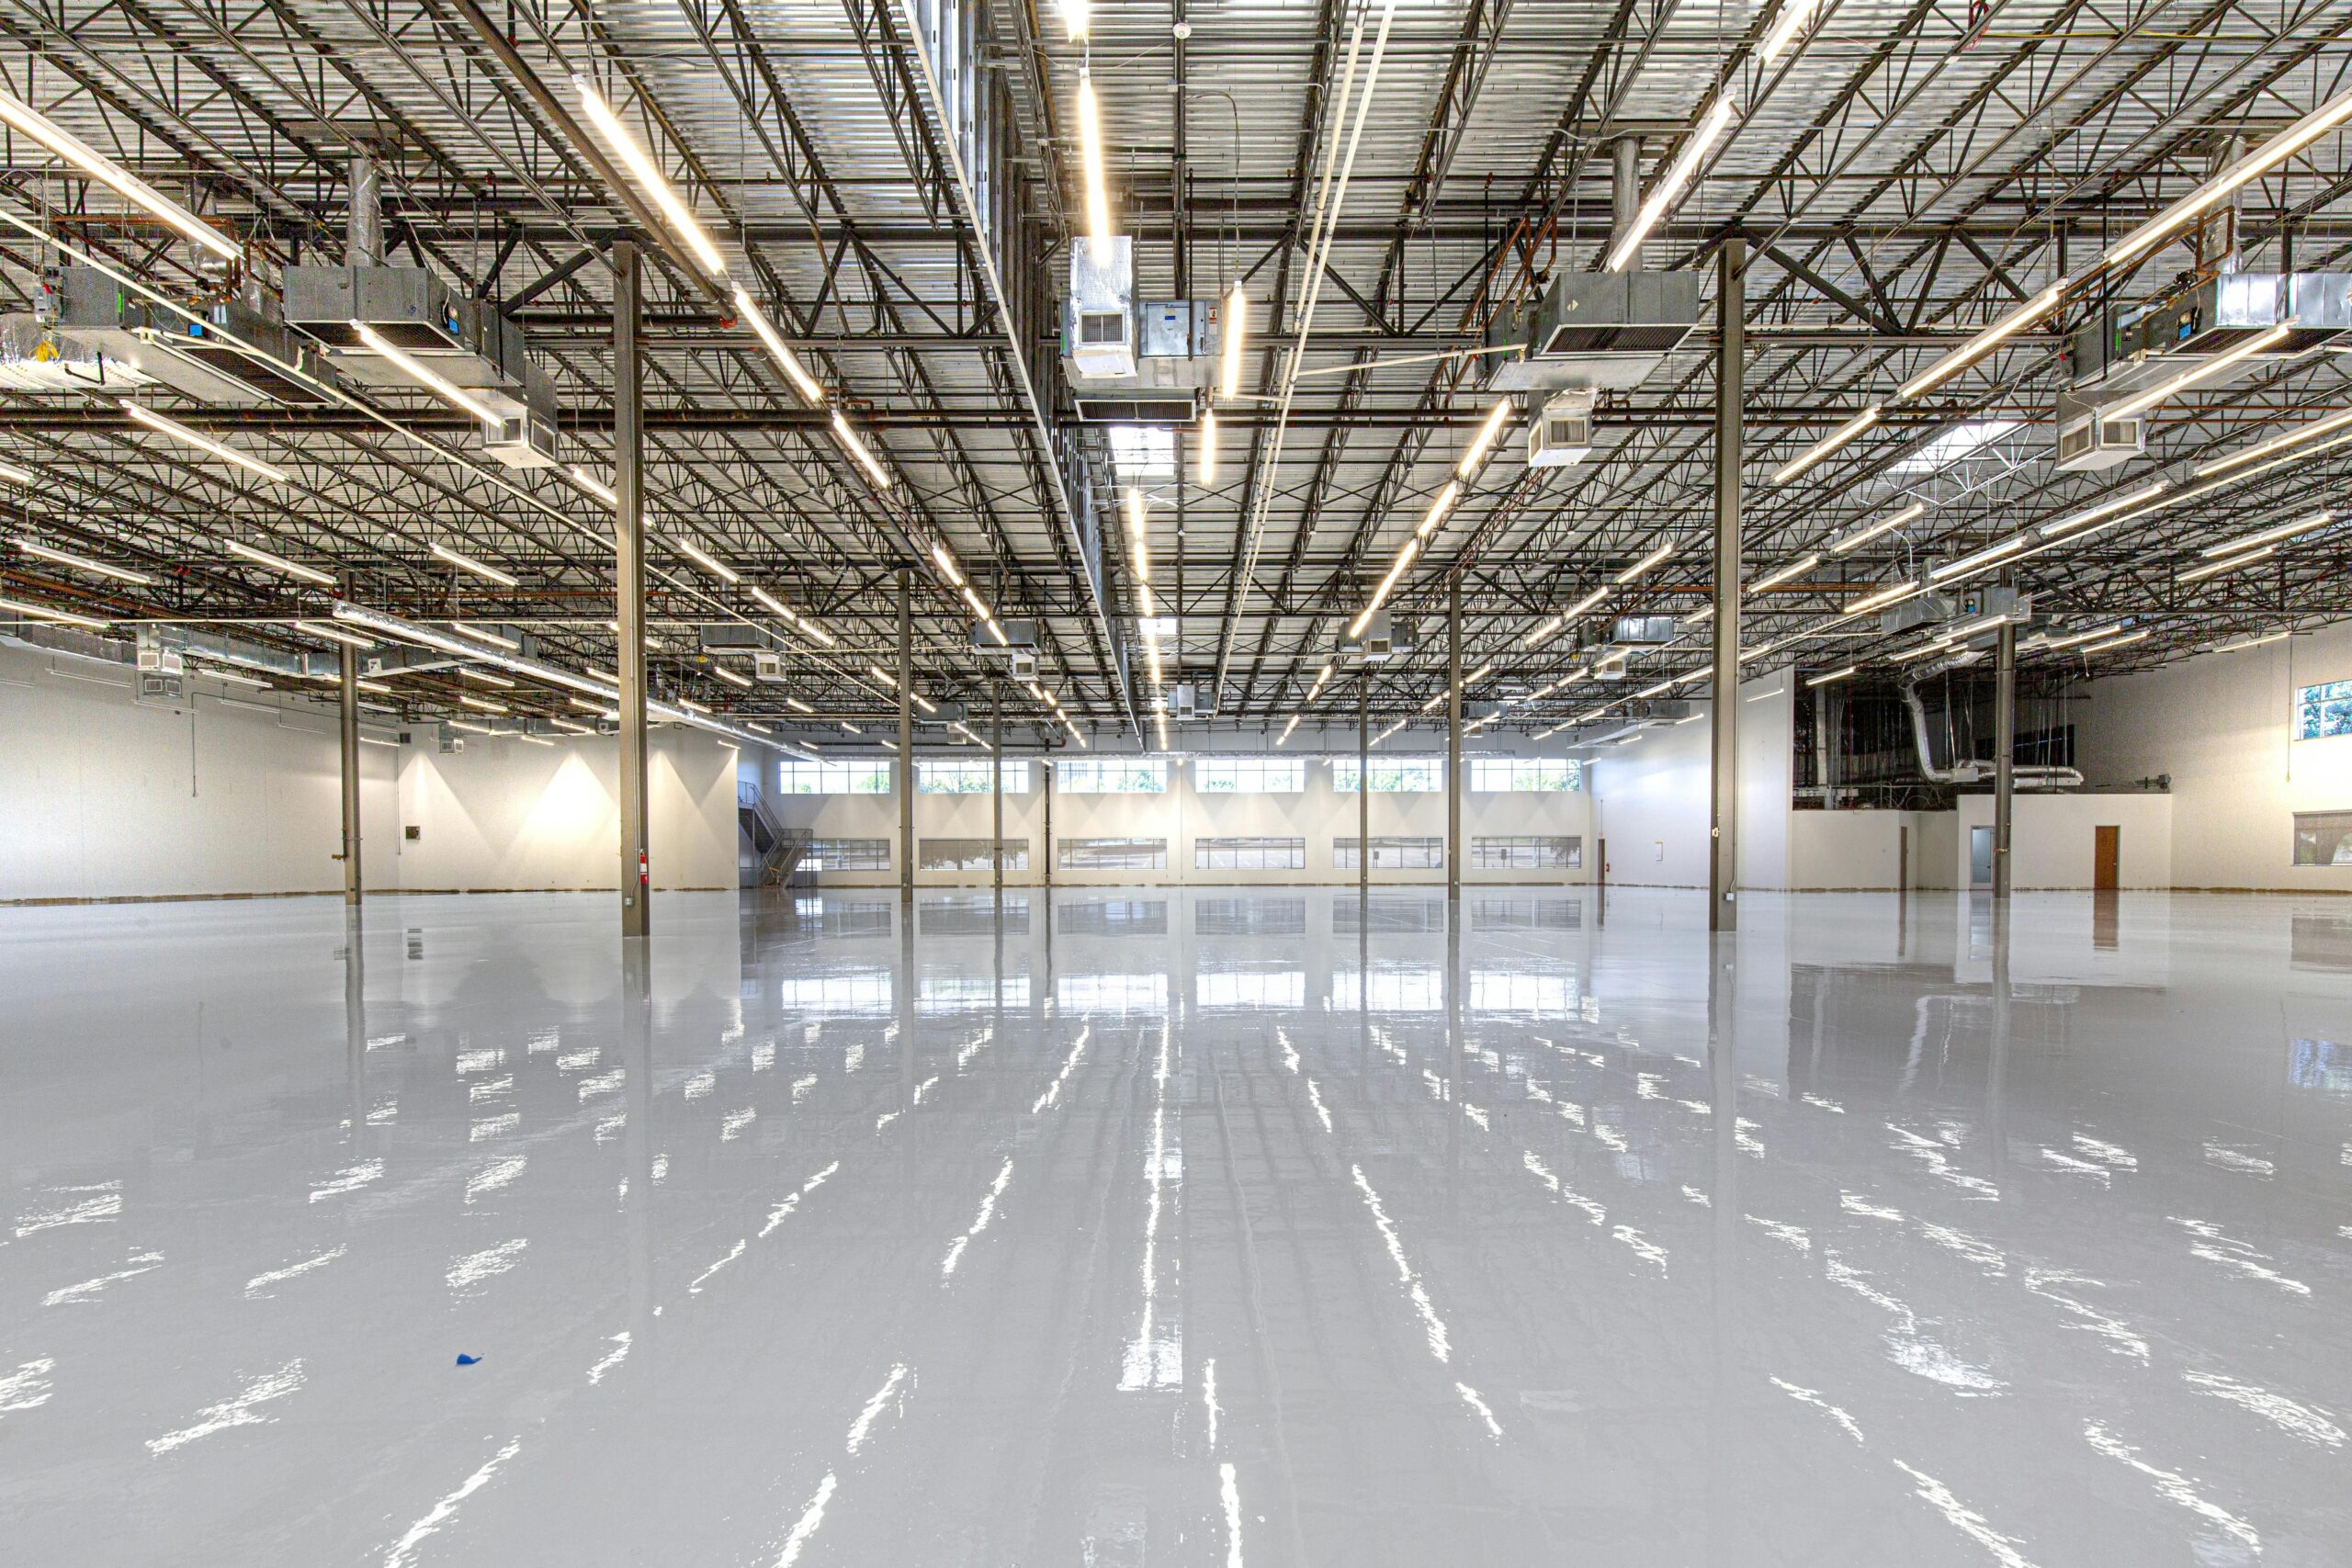
- It bounces light off of it, which makes dark basements feel brighter.
- It’s simple to clean; wipe it down or mop it.
- It doesn’t let water in as easily as most floor coatings.- It really adds value if you ever want to sell the house.
This guide shows you how to do the whole job, from checking your concrete to putting on the last coat of paint, so that you can get it right the first time.
Before you start, make sure your basement floor is ready for epoxy.
Not all concrete floors are ready for epoxy right away. You should check a few things before you buy materials.
The Test for Moisture (Don’t Miss This)
The main reason epoxy doesn’t work on basement floors is because of moisture. If water gets into the concrete slab, the epoxy will bubble, peel, or fail to stick.
It is a simple test: Put a 12-inch square of plastic sheeting flat on the floor and tape down all four edges. Let it sit for 24 to 48 hours. If you see condensation or feel dampness on the bottom of the plastic when you lift it, that means moisture is getting through the slab.
You have two choices if the test shows moisture. Before applying the epoxy, you can either use a primer made for wet concrete to prevent moisture from getting through, or you can fix the problem with the water first (for example, by improving drainage around the foundation). In either case, skipping this step will cause the coating to fail.
- Look for Old Coatings or sealers. Feel the floor with your hand. Does it feel like dust or powder? That is efflorescence, which is a salt deposit that forms when water moves. Before anything sticks, it needs to be taken off.
- Put a little water on the floor. The floor already has a sealer, so water beads up instead of soaking in. Epoxy won’t stick to sealed concrete. You will need to use an acid or a grinder to remove that sealer completely.
- Check for Cracks and Damage. Small hairline cracks are normal in concrete and don’t mean anything is wrong. Use a concrete crack filler to fill any cracks wider than a credit card. Wait until it has fully cured before moving on.
Getting everything ready before you start saves time and stops you from having to go to the hardware store in the middle of the project.
To get the surface ready: Rent a diamond floor buffer or a concrete grinder from a hardware store.
– Shop vacuum and stiff-bristle broom
– Filler for cracks in concrete
– A solution for etching concrete that is based on muriatic acid or citric acid- A bucket, a mop, and safety gear like gloves, goggles, and a respirator
For the use of epoxy:
- A two-part epoxy floor coating kit that fits your square footage
- A paint roller with a 3/8-inch nap cover
- Pole for extending the roller
- A paintbrush that is 2 to 3 inches wide for the edges
- A bucket to mix and a stick to stir
- Optional but helpful spiked roller shoes
- Optional decorative flakes- Clear topcoat or polyurethane sealant
Tip: Get an epoxy kit that is rated for 10 to 20 percent more square footage than your floor size. Thin coats don’t work. You need enough material to make the right thickness.
Step 1: Clean and clear the basement floor
Take everything off the floor. It includes everything, like furniture, boxes, and shelving units. You can’t do a good job if you have to work around things.
Use a stiff broom to clean the floor thoroughly, then use a shop vacuum to clean it again. Dust tends to collect in corners, on edges, and at the base of walls, so pay extra attention to these areas.
If there are oil stains, use a concrete degreaser to remove them right away. After 10 to 15 minutes, scrub and rinse it off. Concrete that has oil on it won’t stick to epoxy. This step directly affects how long your floor lasts.
Step 2: Fix Cracks and Places That Aren’t Even
Fill in any cracks or holes in the floor with a concrete crack filler or patching compound. Mix and apply the product as directed.
Use a caulk-style filler for small cracks, and then use a putty knife to smooth it out so that it is level with the floor. Use a two-part epoxy patching compound for bigger cracks or holes. It sticks better to the concrete around it.
Before moving on, let all repairs dry completely, which usually takes at least 24 hours. If you rush this step, things will go wrong later.
Step 3: Profile the Concrete (using acid etching or mechanical etching)
It is the most important step, and it’s the one that most do-it-yourselfers skip or rush through. Epoxy won’t stick to smooth concrete. The surface needs a texture, or “profile,” so the epoxy can stick to it.
Option A: Grinding by hand
You can rent a concrete grinder or a diamond floor grinder from a tool rental store. Make slow, overlapping passes over the whole floor surface to grind it. It removes the top layer of concrete, reveals new aggregate, and gives you the texture you need. After grinding, make sure to vacuum well.
Most basement floors should be done this way. It gives you more control and can be used on previously coated floors.
Option B: Acid Etching
If you don’t have a grinder, you can etch the concrete with diluted muriatic acid or an acid-etching solution available at home improvement stores.
Follow the directions on the label to mix the etching solution. It usually calls for one part acid to ten parts water. You should always add acid to water, not the other way around. Put the solution on the floor and scrub it with a stiff brush. When it comes into contact with the concrete, it will foam and bubble. It is the acid that reacts and opens the surface pores.
Clean the floor well with clean water two or three times. Any acid left on the surface will make it harder for the epoxy to stick. Before you move on, make sure the floor is completely dry for at least 24 hours.
Important: When working with acid, you should wear rubber gloves, eye protection, and a mask. Open windows and run a fan to let air into the basement.
Step 4: Check the final surface and vacuum
Vacuum the whole floor again after you grind or etch it. When you run your hand over the surface, it should feel a little rough, like medium-grit sandpaper. You need to do the etching step again if it still feels smooth and slick.
Look for any dust, debris, or loose particles that might still be there. At this point, any dirt on the surface will show up as flaws in the final coating.
Step 5: Mix the Epoxy
Before you open anything, read the instructions in your epoxy kit. Each brand has its own set of ratios and working times. If you don’t follow the directions, the coating won’t cure properly.
Most two-part epoxy systems have the following:
- Part A: the resin that makes up the epoxy
- Part B is the hardener, which is also known as the catalyst.
Pour Part B into the Part A container in the same amount as the label says. For the full amount of time, usually two to three minutes, mix slowly and well. As you mix, scrape the sides and bottom of the container. If you don’t mix the material well, it will leave soft, uncured spots on your floor.
The epoxy has a limited working time, or “pot life,” after it has been mixed. It is usually between 20 and 45 minutes, depending on the product and the room temperature. The pot life is shorter at higher temperatures. Make sure your work area is set up so you can use the mixed batch before it starts to gel.
Don’t mix more than you can use in half an hour. If your floor is big, mix in smaller amounts.
Step 6: Put on the first Epoxy Coat on a Basement Floor
Start at the wall farthest from the door, so you can coat yourself toward the door and avoid stepping on wet epoxy.
Cut in along the edges and base of the walls first with a brush that is 2 to 3 inches wide. This gives you a clean edge that the roller can’t get to.
Work in 4-foot-wide strips to roll the epoxy onto the floor. Use strokes that are the same and overlap, and keep the edge wet, which means that you overlap each strip with the one before it before it dries. It stops lap marks from showing up.
Use the epoxy at the thickness specified by the maker. If it’s too thin, the coating won’t last and it is too thick, it might not cure evenly.
If you want to add color flakes for decoration, do it right after rolling each section of wet epoxy. Put your hand about 12 to 18 inches above the floor and move the flakes around in a light, even way. You can use as much or as little as you want. Light coverage makes the surface look speckled, while heavy coverage makes it look like terrazzo.
The first coat should dry for the time given in the instructions, which is usually 12 to 24 hours.
Step 7: Lightly sand between coats
After the first coat has dried, use a pole sander or floor buffer with 120-grit sandpaper to lightly sand the whole floor. It removes any dust, pops any air bubbles that may have formed, and adds a bit of texture so the second coat can stick.
After sanding, make sure to vacuum well. Use a tack cloth or a mop that is only slightly damp to wipe down the floor and remove all the fine dust.
Step 8: Put on the second coat of epoxy
The second coat should be mixed and put on in the same way as the first. Two coats make the paint thicker, last longer, and look more even.
If you put flakes in the first coat, don’t put any more in the second coat. The second coat fills in the gaps and keeps the flakes in place.
Give the second coat enough time to dry. For at least 24 hours, don’t walk on the floor. For 72 hours, don’t put furniture or heavy things on it. It takes about 7 days for the epoxy to cure fully, meaning it reaches its hardest point.
Step 9: Put on a clear topcoat (very important)
You don’t always need a clear polyurethane or polyaspartic topcoat, but it will make your epoxy floor last a lot longer. It makes the floor easier to clean, adds UV resistance (which is important if sunlight gets into the basement), and makes it harder to scratch.
Use the same method as for the epoxy coats to apply the topcoat with a clean roller. Usually, one to two coats of topcoat are enough.
This is especially important if you used decorative flakes, since the topcoat will protect and seal them.
Knowing what goes wrong keeps you from having to repeat it.
- Not doing the moisture test is the main reason epoxy starts to peel after a few months. Always try it out first.
- Not profiling the concrete epoxy prevents it from sticking to smooth concrete. No amount of scrubbing with soap and water will make the surface rough enough. You need to either grind or acid etch.
- Use in cold or damp weather. Epoxy needs to be above 55°F to cure properly. It stays soft or doesn’t cure at all below that. Before you start, check the temperature in your basement.
- Too much mixing at once. When epoxy cures, it gives off heat. This is known as an exothermic reaction. Large mixed batches heat up faster and gel before you can use them. If your pot life is short, mix smaller amounts.
- Walking on the floor too soon, the coating is still curing beneath the surface, even if the surface feels dry. Foot traffic that happens too soon leaves marks and breaks the bond.
How long does Epoxy Coat a Basement Floor last?
In a residential basement, a properly applied epoxy coating on a well-prepared concrete floor usually lasts between 5 and 10 years. Some floors can last even longer if they are used lightly to moderately and have a good topcoat.
The quality of surface preparation, the slab’s moisture content, and whether you used a topcoat are the three factors that have the greatest impact on how long it lasts. Compared to foot traffic only, heavy vehicle traffic (like parking a car) cuts down on the life.
How to Take Care of Your Epoxy Coat on a Basement Floor?
Epoxy floors are very easy to maintain. It stays in great shape with a few simple habits:
To get rid of grit, sweep or dust-mop regularly. Sand and tiny bits of dirt act like sandpaper underfoot, slowly dulling the finish. Clean up spills right away, especially if they are acidic, like battery acid or vinegar. Use a mild, pH-neutral cleaner and warm water to mop as needed. Don’t use steel wool pads or harsh cleaners. Place felt pads under the legs of your furniture to prevent scratching.
Last Thoughts
Most homeowners can Epoxy Coat a Basement Floor themselves in a weekend. The work and money spent are well worth it because the floor looks clean, lasts a long time, and looks professional.
It’s not hard, but it does take time. Everything depends on how well you prepare the surface. If you clean, fix, and profile your floor correctly, it will hold epoxy for years. If you don’t take your time getting the floor ready, it will start to peel in a few months.
Don’t rush through steps one through four. After that, it’s all about applying what you’ve learned.
If you follow this guide carefully, you’ll get a basement floor that looks better and works better than bare concrete. It will also be strong enough to handle whatever you use the space for.
Do you have a question about your specific floor situation? Please leave a comment below if you need help.