
Frozen pipes are more than a winter inconvenience—they can burst, flood your home, and lead to expensive repairs. One of the most effective tools for preventing this problem is heat tape. But what exactly is it, how does it work, and when should you use it?
This guide breaks everything down in plain language. You’ll learn what heat tape is, how it protects your plumbing, and practical steps to keep your pipes safe during freezing weather.
What Is Heat Tape?
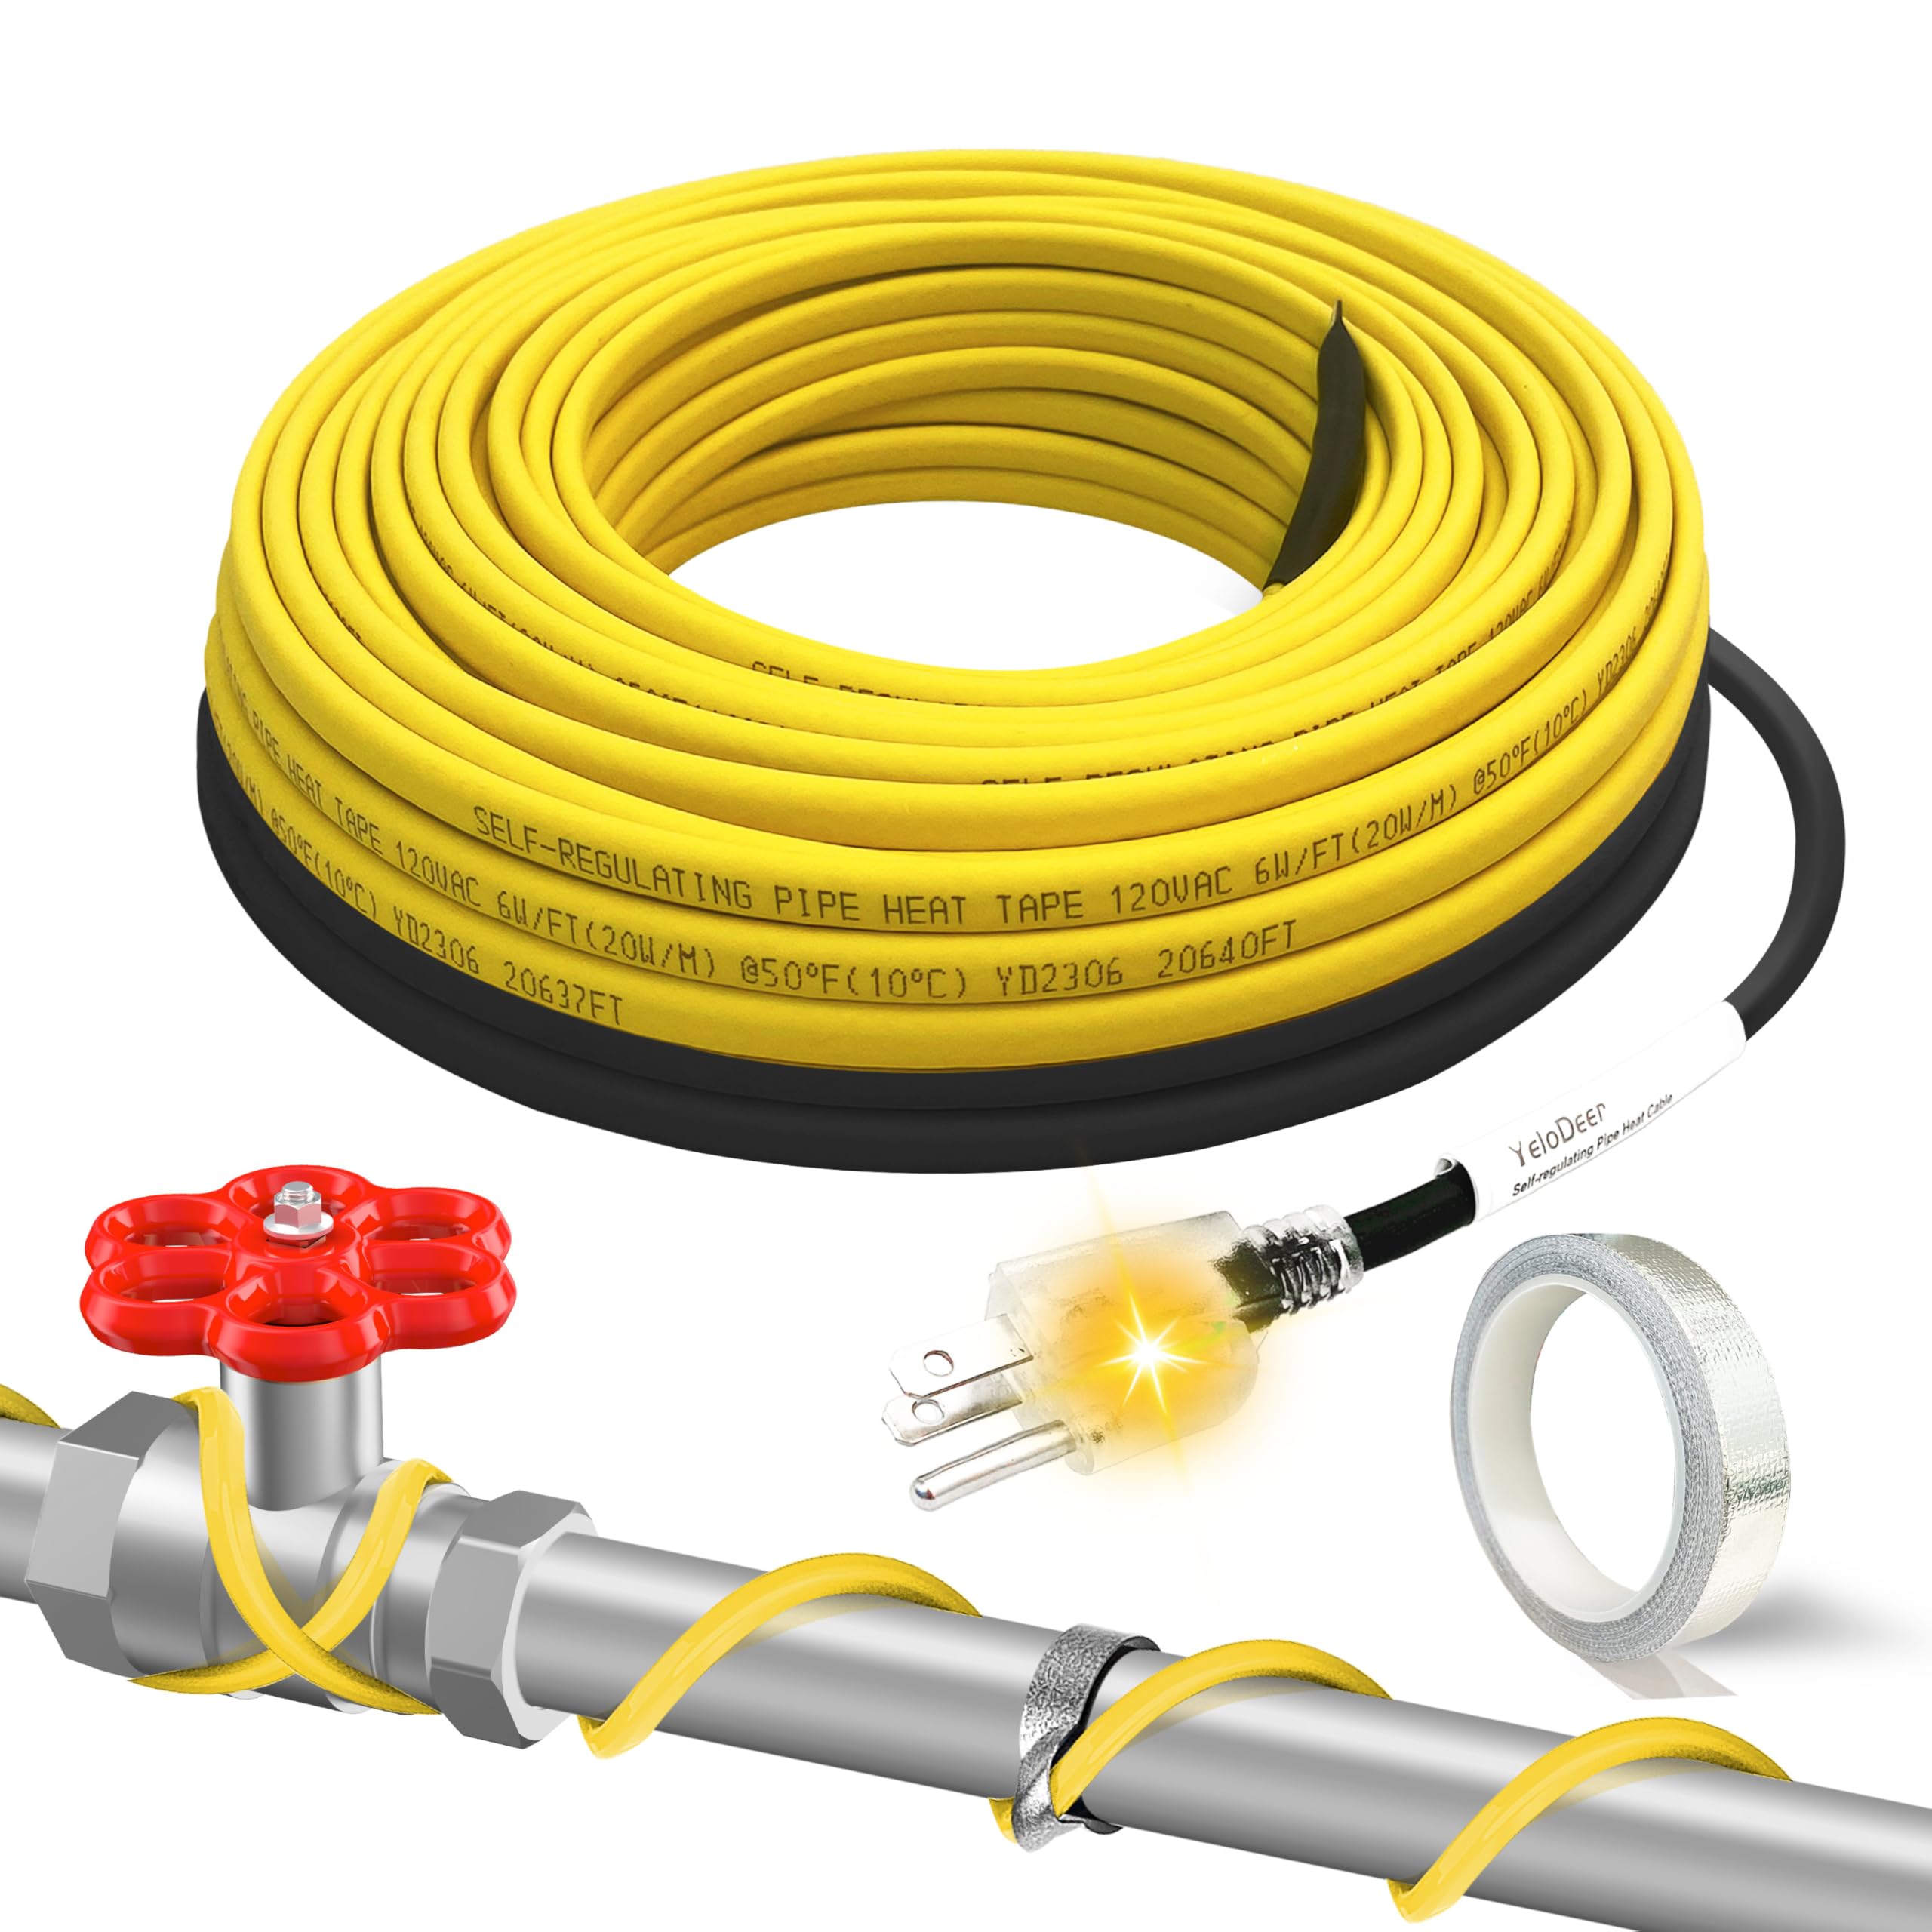
Heat tape (also called heat cable or pipe heating cable) is an electrical wire designed to wrap around water pipes to keep them warm in cold temperatures.
When plugged in, the cable produces gentle heat that prevents water inside the pipe from freezing. Despite the name, modern heat tape usually looks more like a flexible insulated cable than actual tape.
In simple terms:
- It wraps around pipes
- It plugs into electricity
- It provides controlled warmth
- It prevents ice from forming
Homeowners commonly use heat tape in:
- Crawl spaces
- Basements
- Garages
- Attics
- Exterior exposed pipes
- Mobile homes and RVs
How Heat Tape Works
Heat tape uses electrical resistance to create heat. When electricity flows through the cable, it warms up and transfers that heat to the pipe.
There are two main technologies:
1. Constant Wattage Heat Tape
This type produces the same amount of heat along the entire cable.
Pros
- Usually cheaper
- Simple design
Cons
- Can overheat if overlapped
- Less energy efficient
- Requires careful installation
2. Self-Regulating Heat Tape

This modern version automatically adjusts its heat output based on the surrounding temperature.
Pros
- Safer
- More energy efficient
- Lower risk of overheating
- Can overlap safely (usually)
Cons
- More expensive upfront
Expert tip: If your budget allows, self-regulating heat tape is usually the better long-term choice for homeowners.
Why Pipes Freeze (and Why It’s Dangerous)
Before we talk prevention, it helps to understand the problem.
Pipes freeze when:
- Temperatures drop below 32°F (0°C)
- Pipes lack insulation
- Cold air reaches exposed plumbing
- Water sits still inside the pipe
The real danger: bursting
Water expands when it freezes. This creates pressure inside the pipe. Eventually, the pipe can crack or burst.
Many homeowners don’t notice the damage until the ice melts and water starts leaking—sometimes causing thousands of dollars in damage.
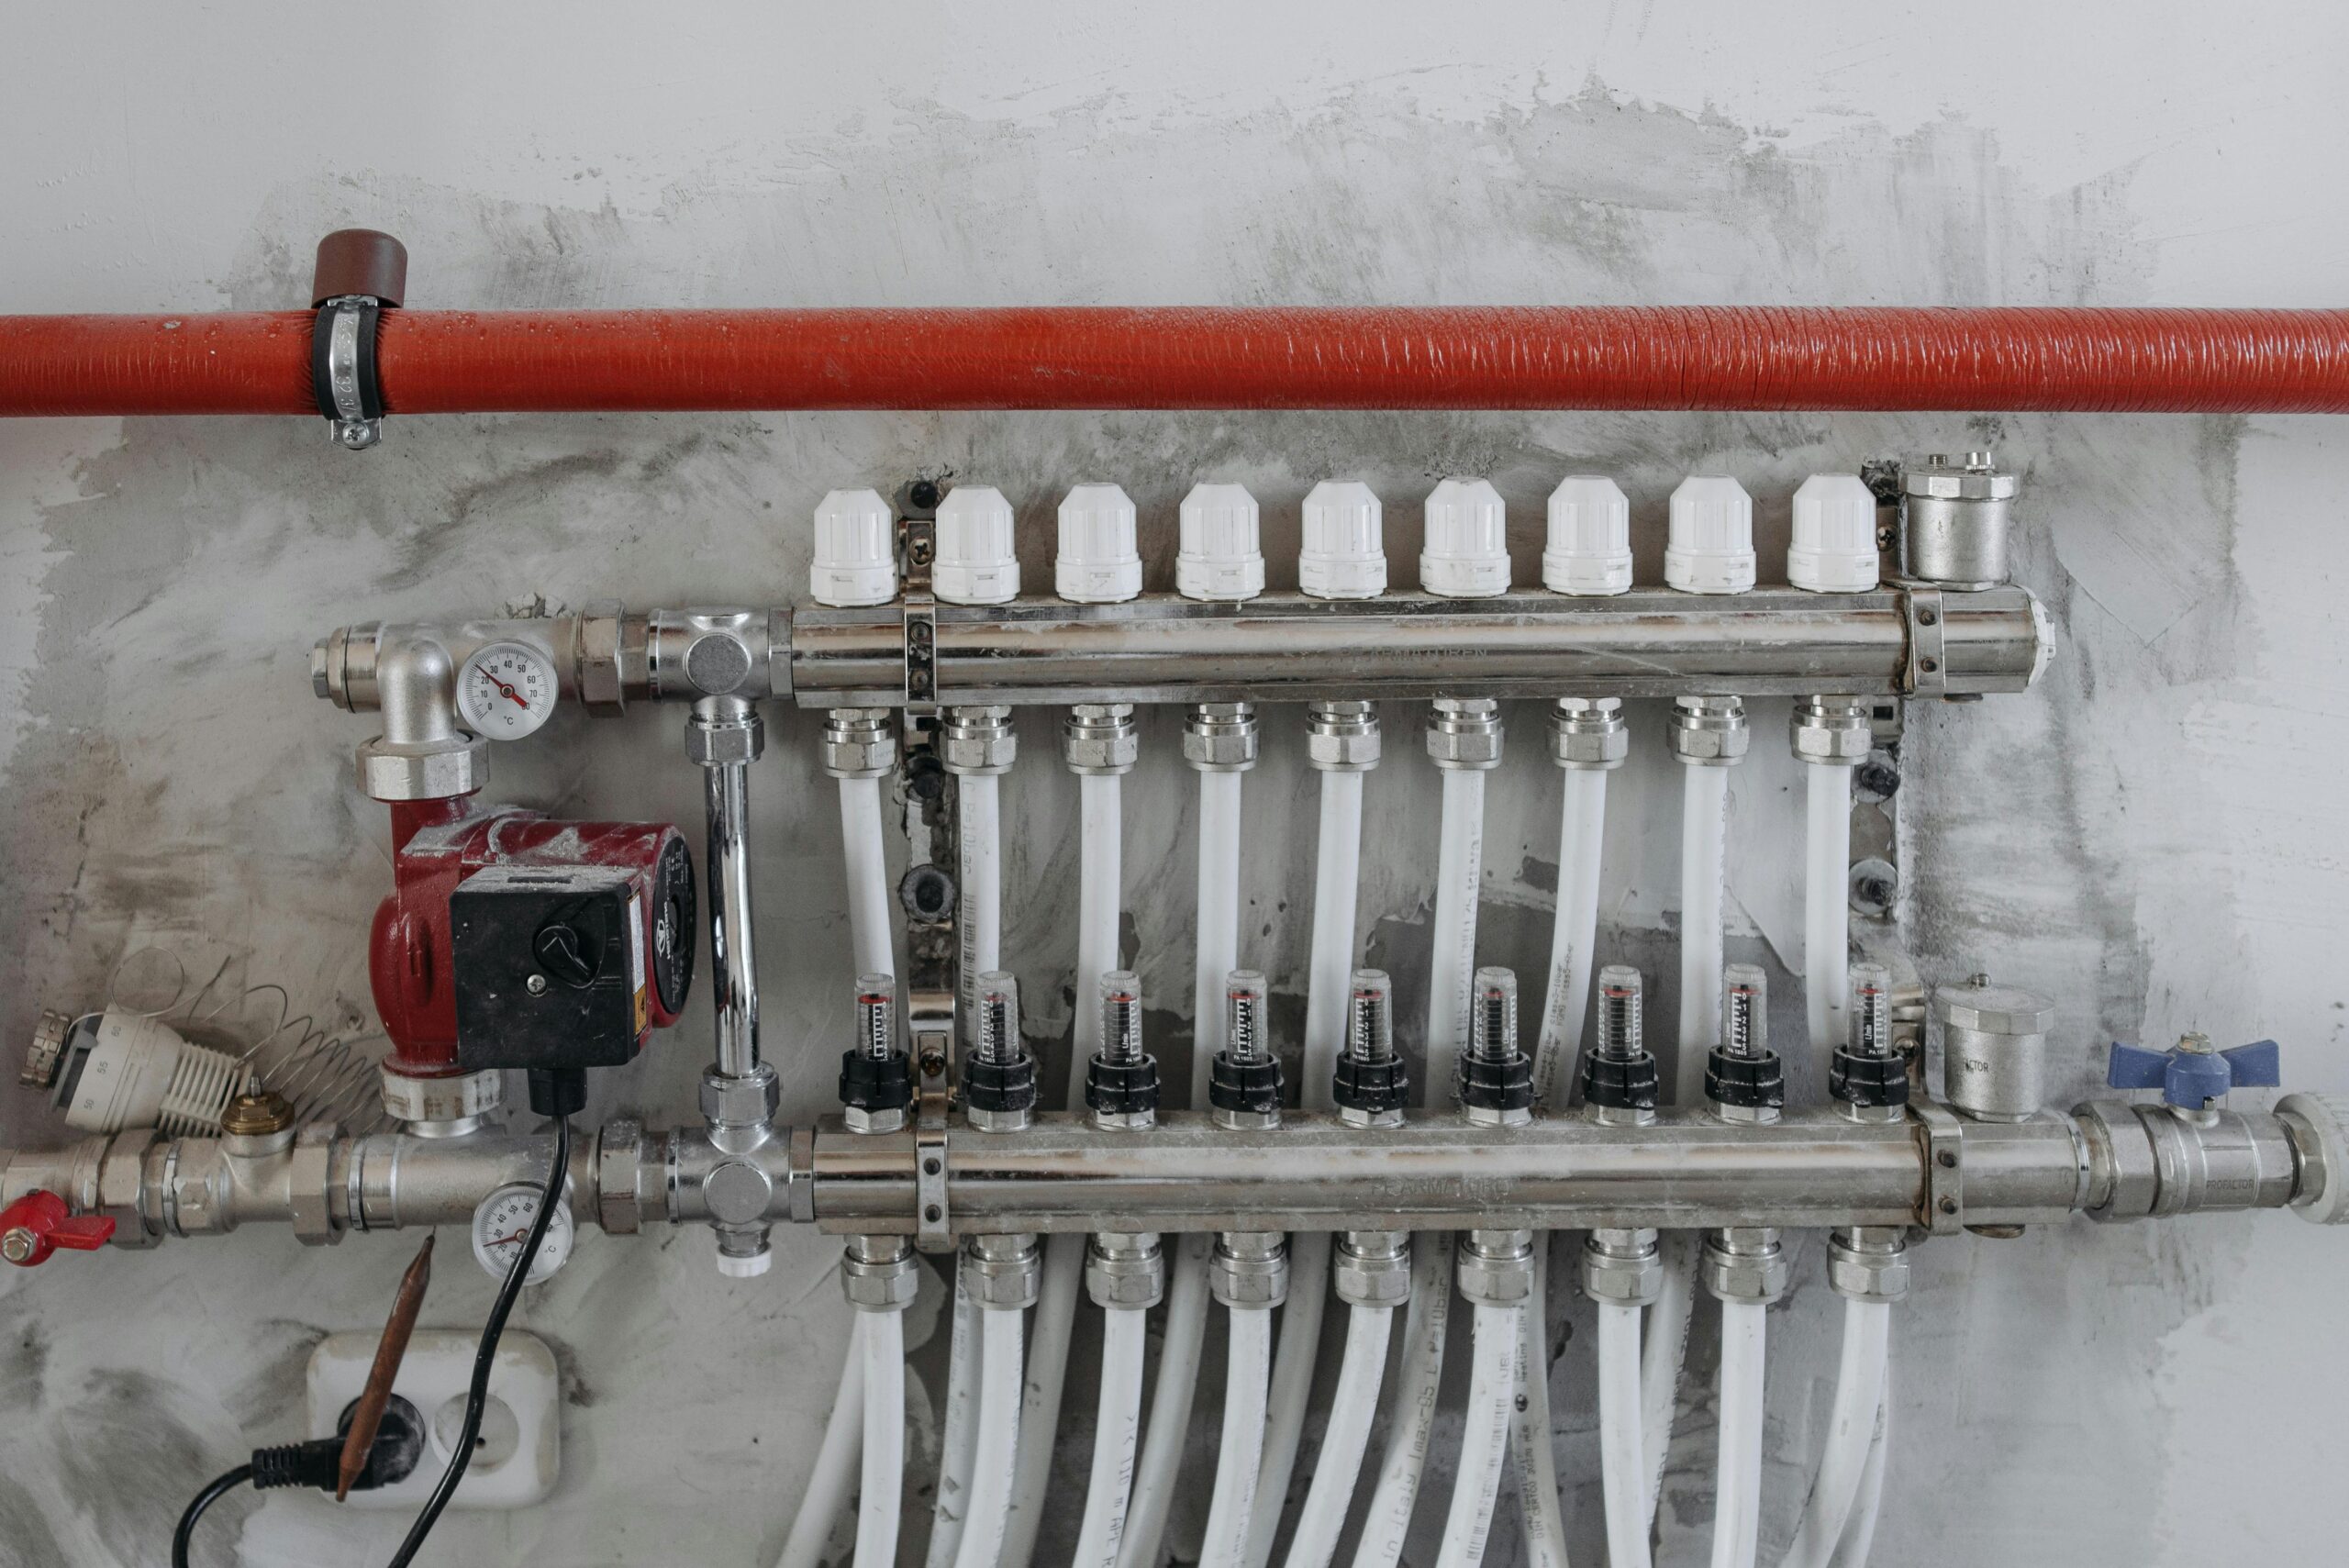
Where You Should Use Heat Tape
You don’t need heat tape on every pipe. Focus on high-risk areas.
Most vulnerable locations
- Exterior walls
- Unheated basements
- Crawl spaces
- Attics
- Garages
- Outdoor hose bibs
- Mobile homes
- Pipes exposed to wind
Rule of thumb: If the pipe feels cold in winter, it may need protection.
How to Install Heat Tape (Step-by-Step)
Proper installation matters. Done wrong, heat tape can fail—or become unsafe.
Step 1: Clean the Pipe
Wipe off dirt, grease, and moisture. Heat tape sticks and transfers heat better on a clean surface.
Step 2: Check the Cable
Before installing:
- Inspect for cuts or damage
- Confirm the voltage matches your outlet
- Read the manufacturer’s instructions
Never install damaged heat tape.
Step 3: Attach the Heat Tape
There are two common methods:
Straight-line method
- Run the cable along the bottom of the pipe
- Best for mild climates
Spiral wrap method
- Wrap the cable around the pipe
- Provides more heat
- Better for very cold regions
⚠️ Always follow the spacing guidelines in the product manual.
Step 4: Secure with Proper Tape
Use electrical tape or fiberglass tape—not duct tape or vinyl tape.
Avoid:
- Metal fasteners
- Nails
- Staples
These can damage the cable.
Step 5: Add Pipe Insulation
This step is often skipped—but it’s critical.
Insulation:
- Traps the heat
- Improves efficiency
- Reduces energy use
- Provides extra freeze protection
Foam pipe sleeves work well for most homes.
Step 6: Plug Into a GFCI Outlet
For safety, heat tape should plug into a GFCI (ground fault circuit interrupter) outlet.
Many modern heat tapes include built-in thermostats that turn on automatically when temperatures drop.
How Much Heat Tape Do You Need?
Measure carefully before buying.
Quick estimating guide
- Measure the pipe length
- Add extra for valves and bends
- For spiral wrapping, multiply pipe length by 1.3 to 1.5
Example:
- 10-foot pipe
- Spiral wrap → buy about 13–15 feet of heat cable
When in doubt, slightly longer is better than too short.
Safety Tips You Should Never Ignore
Heat tape is safe when used correctly—but mistakes can be risky.
Important safety rules
✔ Do:
- Use products rated for your pipe type
- Follow manufacturer instructions
- Inspect yearly
- Use GFCI protection
- Replace old cables every few years
✘ Don’t:
- Overlap constant-wattage heat tape
- Use extension cords (unless rated)
- Install on damaged pipes
- Cover the thermostat sensor
- Leave damaged cable in place
Common Mistakes Homeowners Make
Avoid these frequent problems.
1. Skipping insulation
Heat tape without insulation wastes energy and may fail in extreme cold.
2. Installing too late
Install before the first freeze. Once pipes freeze, heat tape may not thaw them safely.
3. Using indoor-only products outside
Always check the rating. Outdoor exposure requires weather-resistant cable.
4. Forgetting annual inspections
Heat tape doesn’t last forever. Check it every fall.
5. Using cheap, uncertified products
Low-quality cables can overheat or fail. Look for safety certifications when possible.
Alternative Ways to Prevent Frozen Pipes
Heat tape works well, but it’s not your only defense.
Additional protection methods
Keep cabinet doors open
Allows warm air to reach pipes under sinks.
Let faucets drip
Moving water freezes more slowly.
Seal air leaks
Close gaps where cold air enters.
Maintain indoor heat
Even when away from home.
Add pipe insulation
Often enough in mild climates.
Disconnect garden hoses
Prevents ice from backing into indoor pipes.
Best practice: combine heat tape with insulation and basic winter prep.
When You Should Call a Professional
DIY installation works for many homeowners. But consider a plumber or electrician if:
- Pipes are hard to access
- Electrical work is required
- You have long pipe runs
- The home is older
- You’re unsure about safety
Professional installation is especially wise for large homes or commercial properties.
How Much Does Heat Tape Cost?
Prices vary by type and length.
Typical cost ranges
- Basic constant wattage: $10–$30
- Self-regulating cable: $30–$100+
- Professional installation: $150–$500
While self-regulating tape costs more upfront, it often saves money on electricity and lasts longer.
Frequently Asked Questions
Can heat tape touch itself?
- Constant wattage: No
- Self-regulating: Usually yes (check manufacturer)
Can heat tape thaw frozen pipes?
Sometimes—but it’s not guaranteed and can be risky. It’s designed mainly for prevention, not emergency thawing.
How long does heat tape last?
Most quality heat cables last 3–5 years. Inspect annually and replace if worn.
Does heat tape use a lot of electricity?
Not typically. Self-regulating models are especially efficient because they only heat when needed.
Is heat tape safe to leave on all winter?
Yes—if:
- Installed correctly
- Thermostat is working
- Cable is undamaged
- Manufacturer guidelines are followed
Final Thoughts:
If you live in a cold climate or have exposed plumbing, heat tape is one of the most effective and affordable ways to prevent frozen pipes.
The key is proper installation and regular inspection.
Bottom line:
- Heat tape adds reliable freeze protection
- Self-regulating models offer the best safety
- Insulation greatly improves performance
- Early preparation prevents costly pipe bursts
A small investment now can save you from major water damage later.