
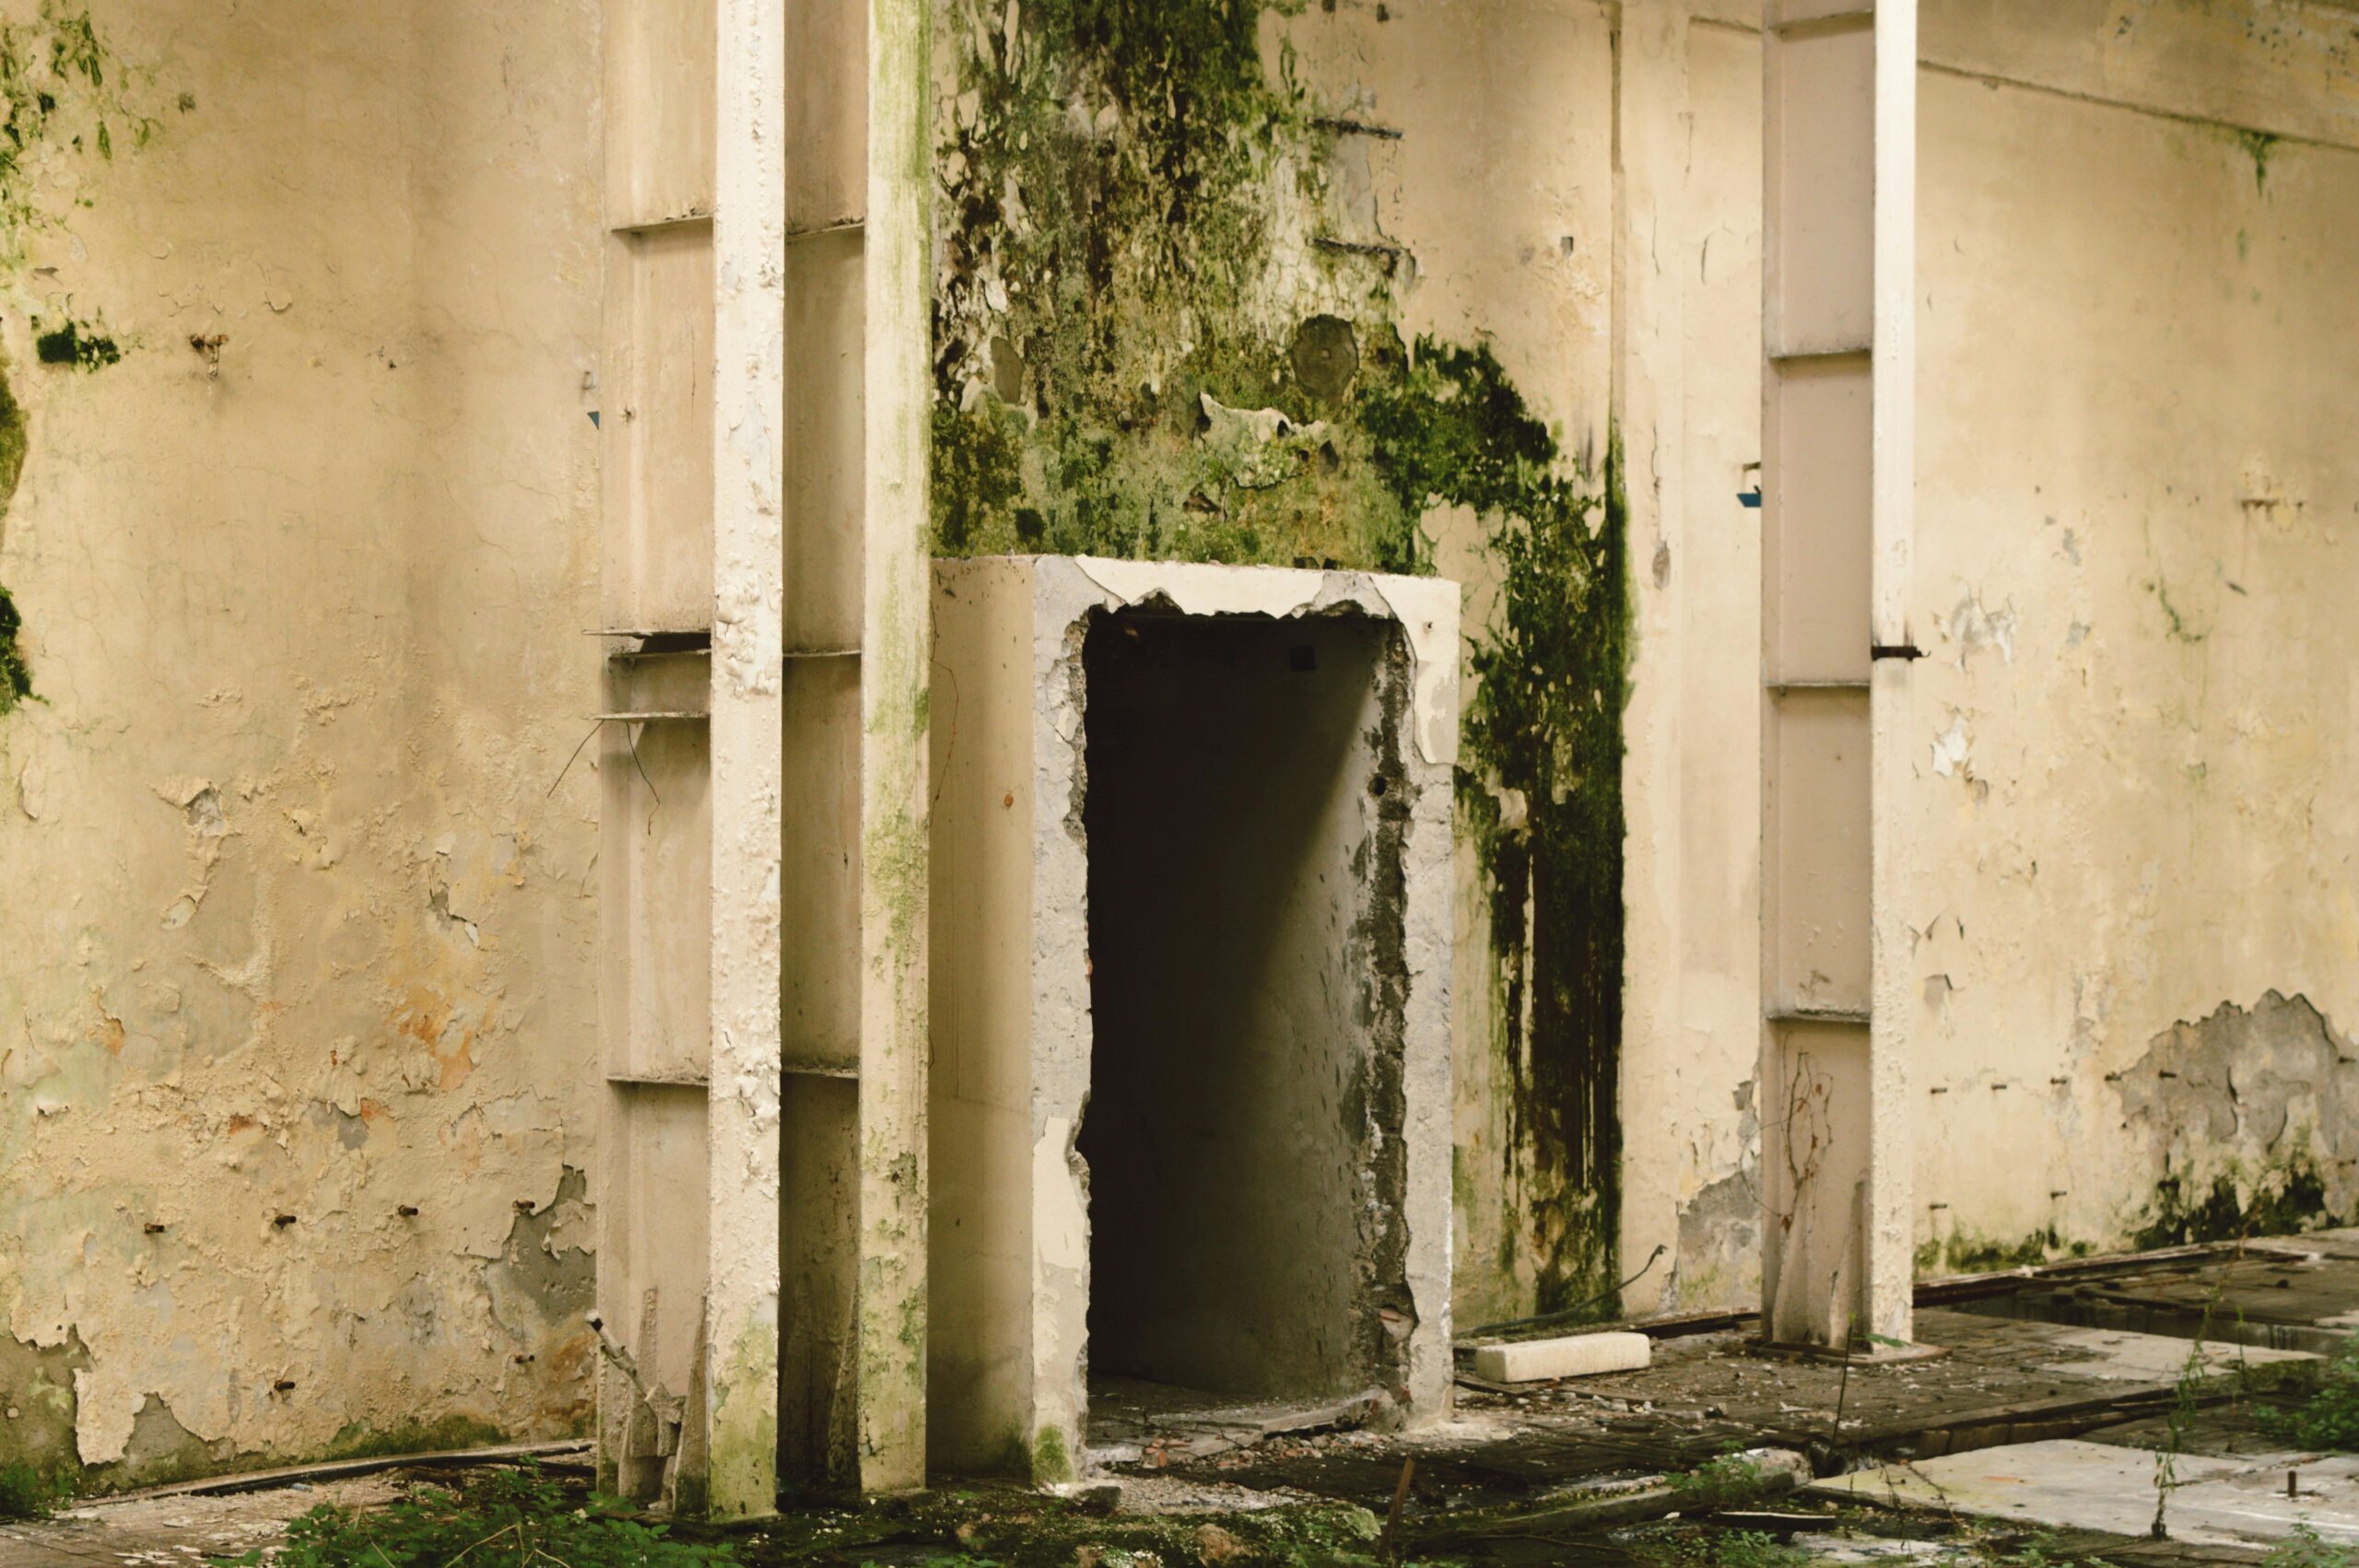
Mold problems are more common than most homeowners think. Whether you live in a humid climate or deal with occasional leaks, mold can grow quickly and silently. When it shows up, many people assume removal is the only solution. But there’s another effective method that professionals often recommend: mold encapsulation.
In this guide, you’ll learn exactly what mold encapsulation is, how it works, when to use it, and whether it’s the right solution for your situation.
What Is Mold Encapsulation?
Mold encapsulation is a remediation method that involves sealing mold-affected surfaces with a specialized coating. This coating creates a barrier that traps mold spores and prevents them from spreading into the air.
Instead of removing all mold-infested materials, encapsulation covers and isolates the mold so it can no longer grow or affect indoor air quality.
This method is commonly used in areas like:
- Crawl spaces
- Basements
- Attics
- Structural wood framing
Encapsulation is not just paint. It uses specially designed products that bond to surfaces and block moisture, which is a key factor in mold growth.
How Mold Encapsulation Works
Mold needs three things to grow:
- Moisture
- Organic material (like wood or drywall)
- Oxygen
Encapsulation works by disrupting these conditions, especially moisture and air exposure.
Step-by-Step Process
Here’s how professionals typically perform mold encapsulation:
1. Inspection and Assessment
A detailed inspection identifies the extent of mold growth and the source of moisture.
2. Surface Cleaning
Before sealing, the surface must be cleaned. Loose mold, dust, and debris are removed using HEPA vacuums or antimicrobial solutions.
3. Drying the Area
Moisture control is critical. The area must be completely dry before applying any encapsulant.
4. Applying the Encapsulant
A mold-resistant coating is applied to the affected surfaces. This creates a sealed barrier.
5. Final Check
After application, professionals ensure the coating is even and the area remains dry.
Mold Encapsulation vs Mold Removal
Many homeowners get confused between encapsulation and removal. Both methods have their place, but they are not the same.
Mold Removal
- Physically removes mold and contaminated materials
- Often involves tearing out drywall or insulation
- More expensive and labor-intensive
- Best for severe infestations
Mold Encapsulation
- Seals mold in place
- Keeps structural materials intact
- Faster and more cost-effective
- Ideal for mild to moderate mold issues
Key Difference
Removal eliminates mold completely. Encapsulation controls it by preventing it from spreading or growing.
When Should You Use Mold Encapsulation?
Encapsulation is not always the right choice. It works best in specific situations.
Ideal Scenarios
- Mold is present on structural wood (like beams or joists)
- The affected area is hard to remove or replace
- Mold growth is not extensive or deeply embedded
- Moisture issues have already been fixed
For example, in a crawl space with minor mold on wooden joists, encapsulation is often the most practical solution.
When to Avoid Encapsulation
Encapsulation may not be suitable if:
- Mold damage is severe
- Materials are rotting or structurally weak
- There is ongoing moisture or water leakage
- Mold has penetrated porous materials like drywall
In these cases, removal is usually the safer option.
Benefits of Mold Encapsulation
Encapsulation offers several practical advantages, especially for homeowners looking for a cost-effective solution.
1. Cost-Effective
Encapsulation typically costs less than full mold removal because it avoids demolition and rebuilding.
2. Faster Process
Most encapsulation projects can be completed in a day or two, depending on the size of the area.
3. Preserves Structures
There’s no need to tear out wooden beams or framing, which helps maintain the integrity of your home.
4. Improves Air Quality
By sealing mold spores, encapsulation reduces the chance of them becoming airborne.
5. Moisture Protection
Many encapsulants also act as moisture barriers, helping prevent future mold growth.
Limitations of Mold Encapsulation
While effective, encapsulation is not a perfect solution.
1. Mold Is Still Present
Encapsulation does not remove mold. It simply seals it.
2. Requires Proper Preparation
If the surface is not cleaned and dried correctly, the coating may fail.
3. Not Suitable for All Materials
Soft, porous materials like carpets or insulation usually cannot be encapsulated.
4. Risk of Hidden Growth
If moisture returns, mold can grow behind the sealed layer.
Types of Mold Encapsulation Products
Not all encapsulants are the same. Professionals choose products based on the surface and level of contamination.
1. Clear Sealants
These allow you to see the surface underneath. They are often used on wood.
2. White or Colored Coatings
These provide a clean, finished look and are common in crawl spaces and basements.
3. Vapor Barrier Coatings
These add an extra layer of moisture protection, especially in damp environments.
Mold Encapsulation in Different Areas of the Home
Crawl Spaces
Crawl spaces are one of the most common areas for encapsulation. High humidity and poor ventilation make them ideal for mold growth.
Encapsulation here often includes:
- Sealing wooden beams
- Adding a vapor barrier on the ground
- Improving ventilation
Basements
Basements often deal with moisture from the ground. Encapsulation helps protect walls and ceilings from recurring mold issues.
Attics
Roof leaks and poor insulation can lead to attic mold. Encapsulation can seal affected wood surfaces once leaks are fixed.
Cost of Mold Encapsulation
The cost depends on several factors:
- Size of the affected area
- Severity of mold growth
- Type of encapsulant used
- Labor costs in your region
Average Price Range
- Small areas: $500 – $1,500
- Medium areas: $1,500 – $4,000
- Large projects: $4,000+
Encapsulation is generally more affordable than full mold removal, which can easily exceed $10,000 for major infestations.
DIY vs Professional Mold Encapsulation
DIY Approach
You can attempt encapsulation yourself for small areas. However, it requires:
- Proper protective gear
- Correct cleaning methods
- High-quality encapsulant products
Mistakes can lead to mold returning or spreading.
Professional Service
Hiring professionals ensures:
- Proper assessment
- Safe handling of mold
- Long-lasting results
For anything beyond a small patch of mold, professional help is strongly recommended.
How to Prevent Mold After Encapsulation
Encapsulation works best when combined with prevention.
Control Moisture
- Fix leaks immediately
- Use dehumidifiers in damp areas
- Ensure proper drainage around your home
Improve Ventilation
- Install vents in crawl spaces
- Use exhaust fans in bathrooms and kitchens
Regular Inspections
Check areas prone to moisture every few months. Early detection prevents bigger problems.
Is Mold Encapsulation Safe?
Yes, when done correctly, It is safe. The sealing layer prevents mold spores from entering the air, which reduces health risks.
However, safety depends on proper preparation and application. Poorly done encapsulation can trap moisture and make the problem worse.
Final Thoughts
It is a practical and effective solution for many mold problems. It offers a balance between cost, speed, and long-term protection.
If the mold issue is moderate and the structure is still sound, encapsulation can save time and money while improving indoor air quality.
That said, it’s not a one-size-fits-all solution. Always address the source of moisture first, and consider professional advice for larger or more serious infestations.