
That old clawfoot tub might look tired, but don’t write it off yet. With a bit of prep and patience, you can refinish and paint it at home—and make it look fresh again without buying a new tub. Yes, you can refinish and painting an old clawfoot tub yourself. The key is good cleaning, careful sanding, and using the right tub paint. Do it right, and the finish can last for years.
Why refinish a clawfoot tub instead of replacing it?
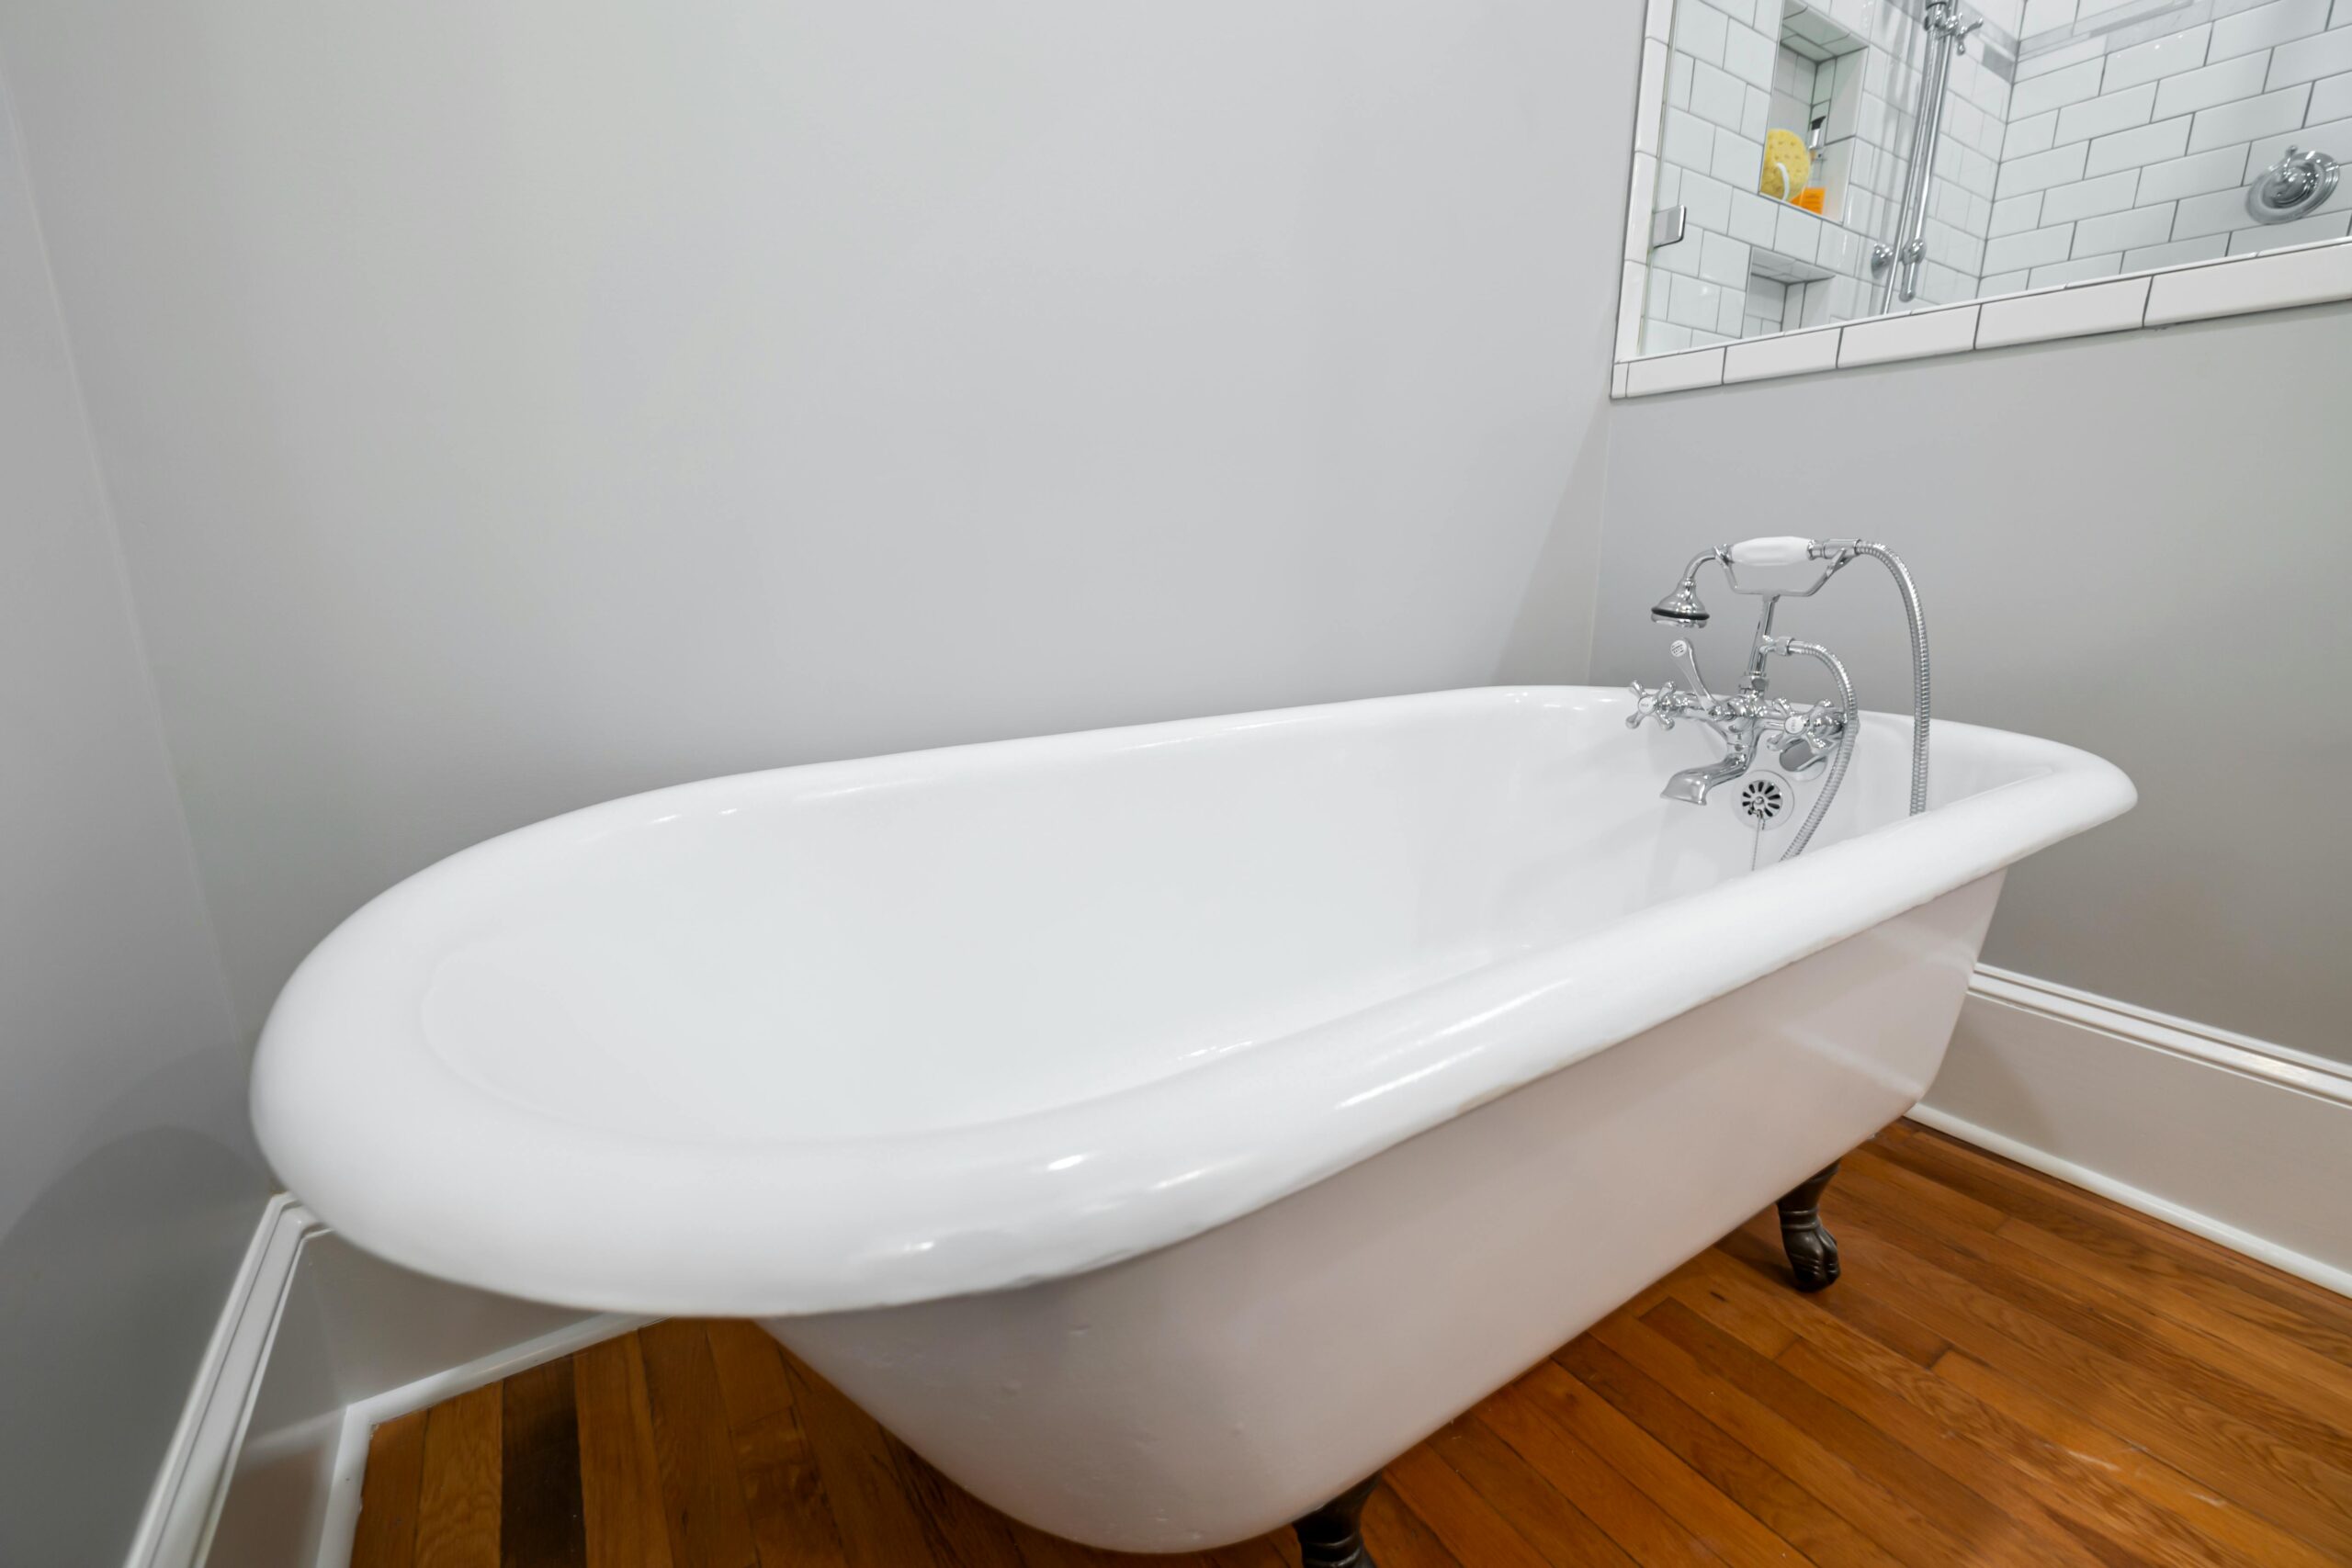
Old clawfoot tubs are usually made of cast iron. That means they’re heavy, strong, and built to last. Replacing one is expensive and messy. Refinishing costs much less and keeps the classic look.
People usually refinish a tub because:
- The surface looks dull or stained
- There are chips or small rust spots
- They want a new color for the bathroom
What you need before you start
You don’t need fancy tools. Just basic supplies and some time.
You’ll need:
- Heavy-duty cleaner or degreaser
- Sandpaper (medium and fine grit)
- Rust remover (if needed)
- Painter’s tape and plastic sheets
- Tub and tile paint (epoxy or acrylic)
- Foam roller or spray kit
- Mask, gloves, and good airflow
Tip: Always read the paint label. Tub paint is not the same as wall paint.
Step-by-step: how to refinish and paint an old clawfoot tub
Clean the tub really well
This step matters more than people think. Any soap, oil, or dirt can ruin the finish. Scrub the tub until it’s fully clean and dry.
Fix chips and rust
If you see rust spots, sand them down and use rust remover. For small chips, apply filler and let it dry fully.
Sand the surface
Light sanding helps the paint stick. You don’t need to remove all the old finish—just rough it up evenly.
Mask the area
Cover the floor, walls, and tub feet. Take your time here. Clean edges make a big difference.
Apply the paint
Follow the paint instructions closely. Most tub paints need thin, even coats. Let each coat dry before adding the next one.
Let it cure
This is the hard part—waiting. Most tubs need 24 to 72 hours before use. Some paints need up to a week to fully harden.
Pros and cons of refinishing a clawfoot tub
| Pros | Cons |
|---|---|
| Much cheaper than replacing | Takes time and patience |
| Keeps the vintage look | Strong paint smell |
| Can be done at home | Not as durable as factory finish |
| Choose your own color | Mistakes can show if rushed |
Real-world examples
Example 1:
A homeowner refinished a 70-year-old clawfoot tub for under $150. After cleaning and repainting, the tub looked almost new and lasted over 5 years with proper care.
Example 2:
Another DIYer rushed the drying time. The paint peeled within months. Lesson learned: curing time is not optional.
FAQs (People Also Ask)
Can I paint a clawfoot tub myself?
Yes. Many people do it successfully. Just follow each step carefully and don’t skip prep.
What paint is best for a clawfoot tub?
Tub and tile epoxy or acrylic paint made for bathrooms works best. Regular paint will fail.
How long does refinished tub paint last?
With good prep and gentle cleaning, it can last 3 to 10 years.
Can I refinish just the outside of the tub?
Yes. Some people paint only the outside and leave the inside white for a classic look.
Is professional refinishing better?
Pros give a tougher finish, but it costs much more. DIY is great if you’re careful and patient.
Final verdict
Refinishing and painting an old clawfoot tub is a smart, budget-friendly way to bring it back to life. It’s not hard, but it does require time, prep, and patience. If you take it slow and use the right materials, your tub can look beautiful again—and stay that way for years.