
Cup fungus is a common garden fungus that often surprises homeowners when it suddenly appears in soil, mulch, compost, or plant beds. It typically looks like small cup-shaped structures in shades of orange, brown, yellow, or red.
While it may look alarming, cup fungus is usually not harmful to plants. In most cases, it is a sign of organic matter breaking down in the soil. However, its presence can indicate excessive moisture or decaying material that may need attention.
This guide explains what cup fungus is, why it appears, whether it is dangerous, and how to remove or control it effectively using practical, safe methods.
1. What Is Cup Fungus?
Cup fungus is a type of saprophytic fungus, meaning it feeds on dead or decaying organic matter rather than living plants.
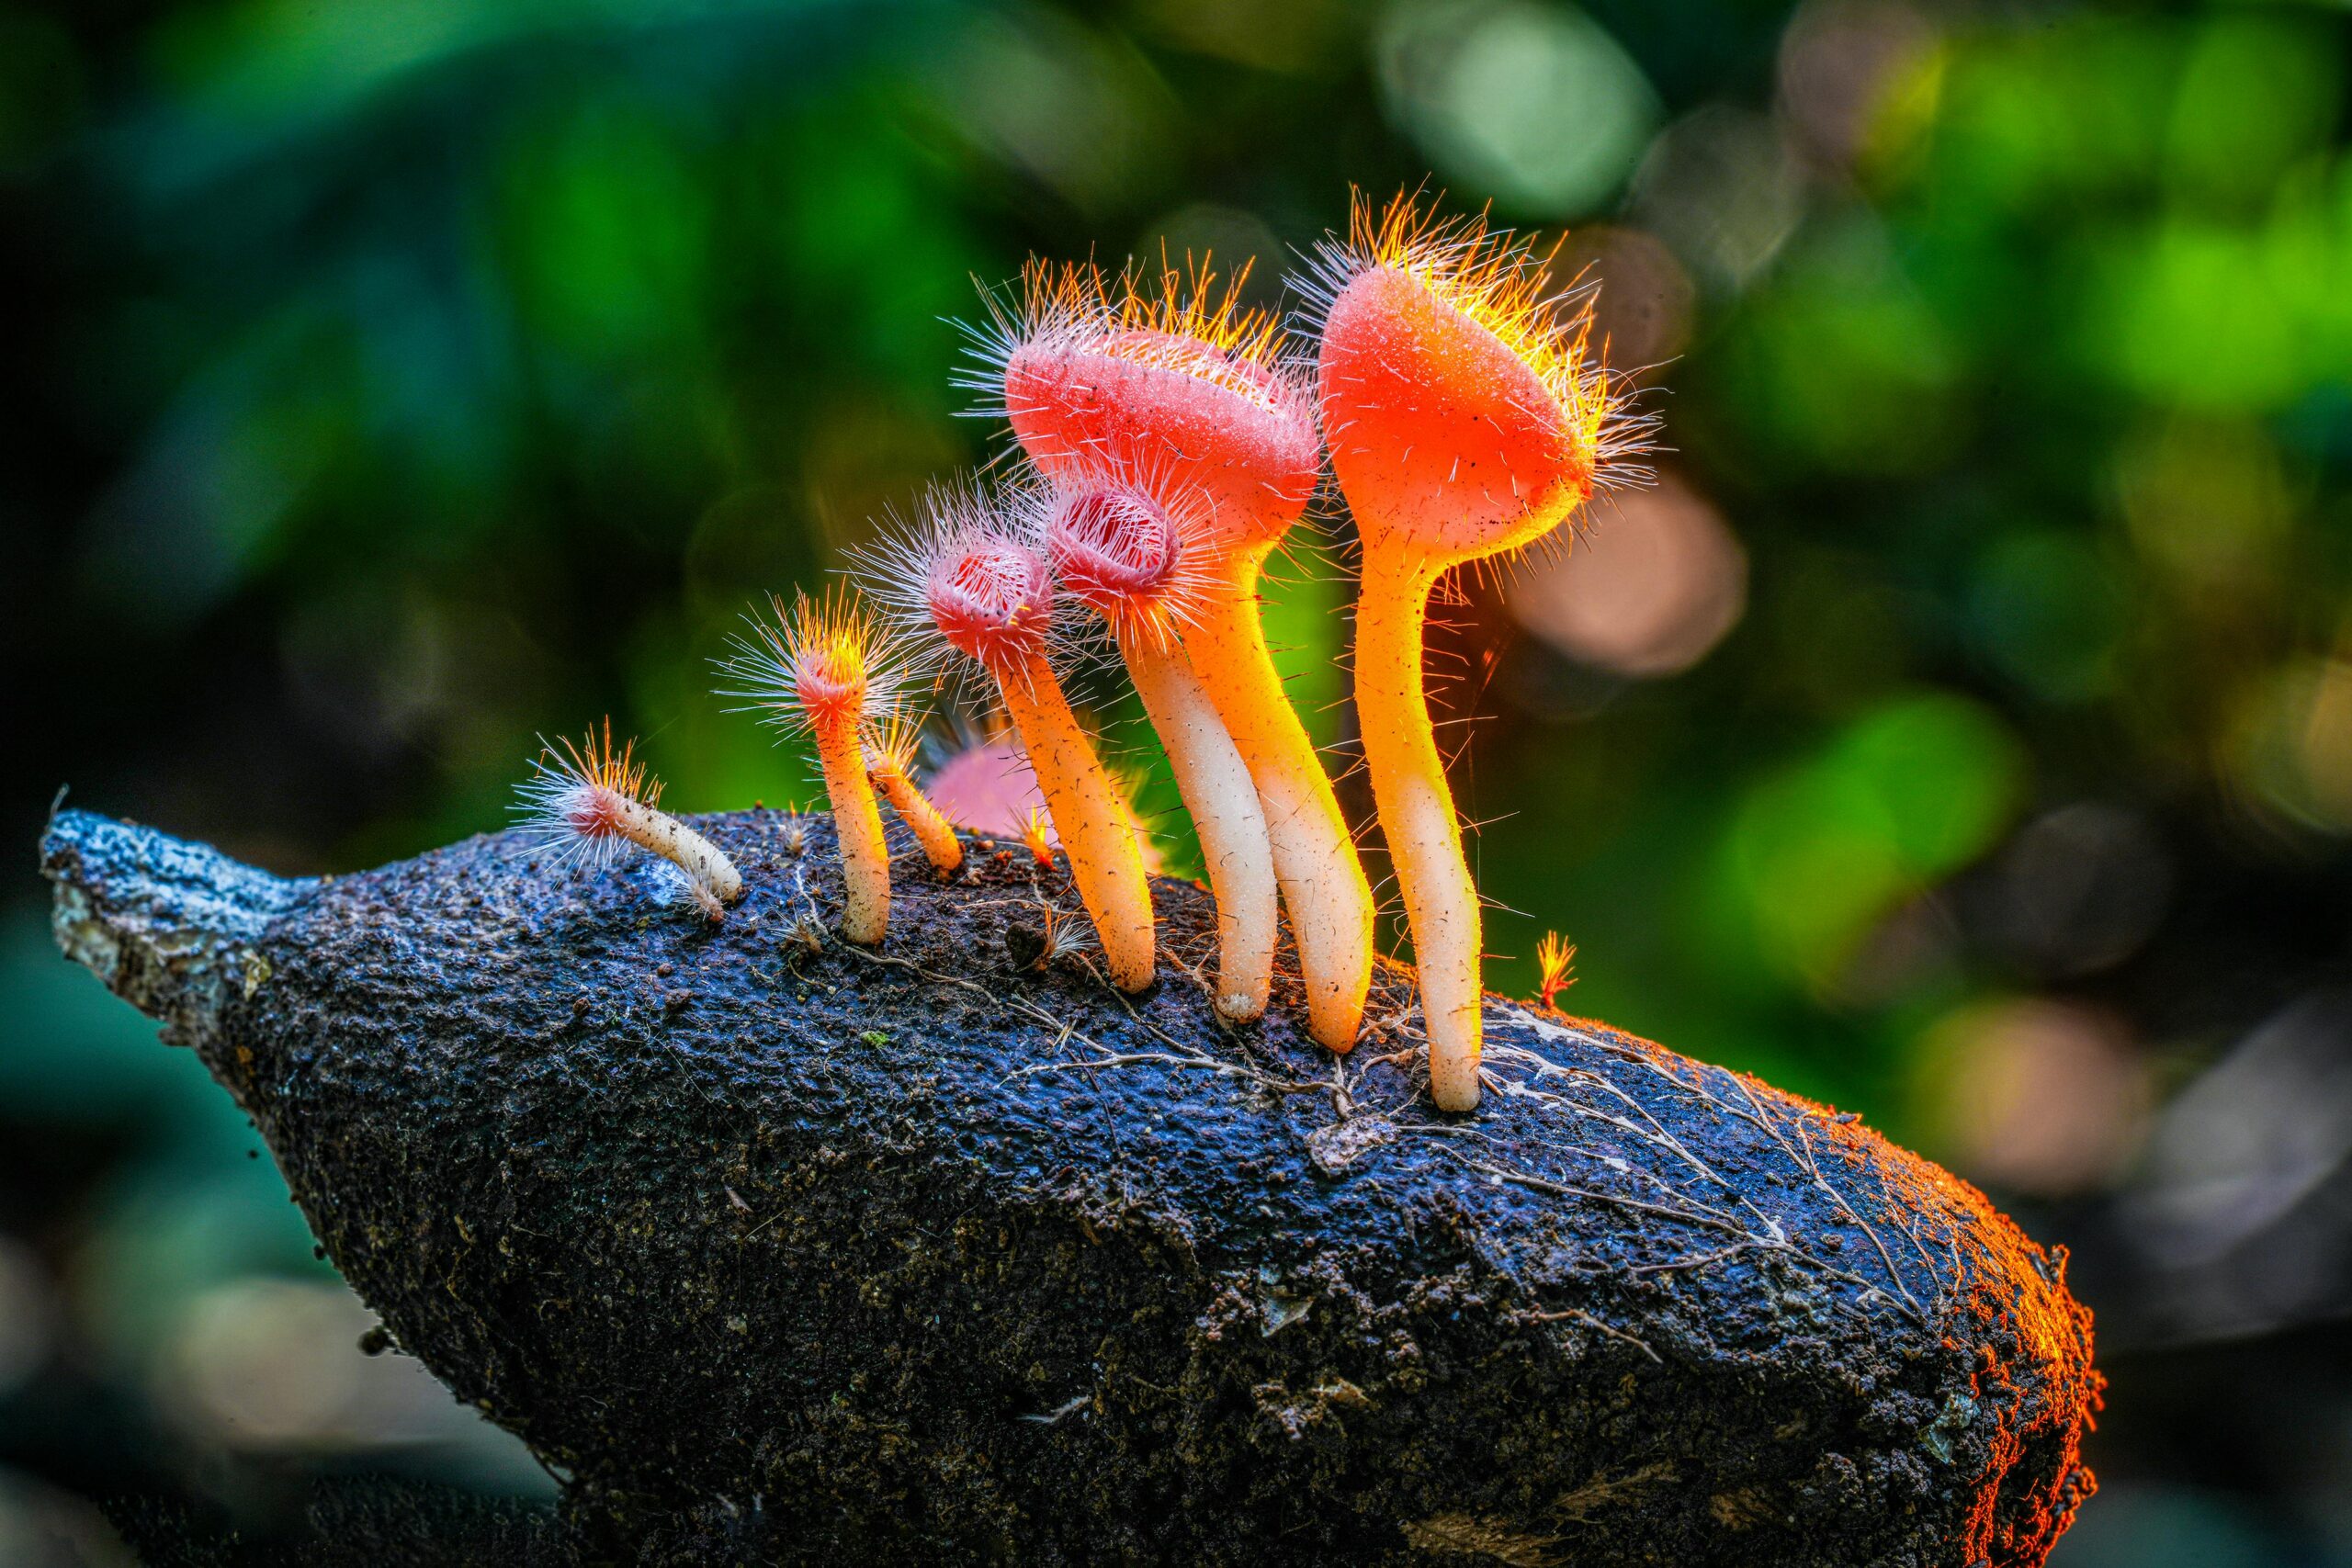
Common Appearance:
- Small cup or saucer-shaped growths
- Colors: orange, red, brown, yellow, or white
- Grows in clusters or scattered patches
- Often found in mulch, soil, or rotting wood
Expert insight:
Cup fungus is part of nature’s recycling system. It helps break down organic matter and return nutrients to the soil.
2. Why Cup Fungus Grows in Your Garden
Cup fungus appears when environmental conditions support fungal growth.
2.1 Excess Moisture
Too much water is the most common cause.
- Overwatering plants
- Poor drainage
- Heavy rainfall periods
2.2 Decaying Organic Matter
Fungi thrive on:
- Wood chips
- Mulch layers
- Dead roots
- Compost piles
2.3 Shaded Areas
Low sunlight areas stay damp longer, encouraging fungal growth.
2.4 Poor Air Circulation
Dense plant areas reduce airflow, increasing humidity at soil level.
Insider tip:
Cup fungus often appears in newly mulched gardens because fresh organic material provides an ideal food source.
3. Is Cup Fungus Harmful to Plants?
In most cases, cup fungus is not harmful.
Important fact:
It does not directly attack healthy plants or roots.
However, it can indicate:
- Overly wet soil
- Poor drainage conditions
- Excess organic buildup
These conditions can indirectly affect plant health if not corrected.
Expert insight:
The fungus itself is harmless, but the environment that allows it to grow may not be ideal for long-term plant health.
4. Types of Cup Fungus Found in Gardens
4.1 Orange Cup Fungus (Aleuria aurantia)
- Bright orange color
- Common in soil and lawns
- Harmless saprophyte
4.2 Brown Cup Fungus
- Found in mulch or wood chips
- More common in shaded gardens
4.3 Red or Scarlet Cup Fungus
- Eye-catching color
- Often grows in damp organic soil
4.4 White Cup Fungus
- Less common
- Appears in highly decomposed organic matter
5. How to Identify Cup Fungus Correctly
Correct identification helps avoid unnecessary treatment.
Key signs:
- Cup-shaped structure
- Soft, brittle texture
- Grows on soil surface (not plant stems)
- Appears after rain or watering
- No damage to plant leaves or stems
Insider tip:
If the growth is attached to living plant tissue, it is likely a different fungal disease, not cup fungus.
6. How to Get Rid of Cup Fungus in Garden
Cup fungus control focuses on changing environmental conditions rather than using harsh chemicals.
6.1 Manual Removal
The simplest method.
Steps:
- Wear gloves
- Remove fungus from soil
- Dispose in trash (not compost)
- Clear surrounding debris
Expert insight:
Removing visible fungus helps temporarily, but regrowth will occur if conditions remain unchanged.
6.2 Reduce Moisture Levels
Moisture control is essential.
Actions:
- Reduce watering frequency
- Avoid overwatering plants
- Improve soil drainage
6.3 Improve Soil Aeration
Better airflow reduces fungal growth.
Methods:
- Loosen compact soil
- Avoid heavy foot traffic on beds
- Use organic soil conditioners
6.4 Remove Excess Mulch
Thick mulch layers encourage fungus.
Recommendation:
- Keep mulch depth moderate (5–7 cm)
- Replace old, decomposing mulch
6.5 Increase Sunlight Exposure
Fungus thrives in shade.
Solutions:
- Trim overgrown plants
- Open up garden spaces
- Relocate pots if possible
Insider tip:
Even a small increase in sunlight exposure can significantly reduce fungal regrowth.
7. Natural Control Methods
If you prefer chemical-free gardening, these methods help control cup fungus naturally.
7.1 Vinegar Solution (Mild Use)
- Diluted vinegar can slow fungal growth
- Apply carefully to affected soil areas
7.2 Baking Soda Mix
- Helps balance surface conditions
- Mild antifungal effect
7.3 Neem-Based Treatments
- Natural antifungal properties
- Safe for plants when used correctly
Expert insight:
Natural methods are more about control than complete elimination because fungi are part of soil ecosystems.
8. Chemical Treatment (When Necessary)
Chemical fungicides are rarely required but can be used in severe cases.
Options include:
- General garden fungicides
- Soil treatment sprays
Important caution:
- Always follow label instructions
- Avoid overuse
- Do not apply near edible plants unless approved
9. Preventing Cup Fungus from Returning
Prevention is more effective than removal.
9.1 Proper Watering Practices
- Water only when soil is dry
- Avoid shallow frequent watering
9.2 Maintain Balanced Mulch Layer
- Replace decomposing mulch
- Avoid thick buildup
9.3 Improve Drainage System
- Add sand or organic matter to heavy soil
- Ensure water does not pool
9.4 Regular Garden Cleaning
- Remove dead leaves
- Clear rotting wood
- Maintain airflow
Insider tip:
Healthy, well-aerated soil naturally reduces fungal outbreaks over time.
10. Common Mistakes Gardeners Make
10.1 Using Too Much Fungicide
Kills beneficial soil organisms unnecessarily.
10.2 Ignoring Drainage Problems
Root cause remains unresolved.
10.3 Overwatering Plants
Creates ideal fungal environment.
10.4 Removing Fungus Without Fixing Conditions
Leads to repeated growth.
11. When to Be Concerned About Cup Fungus
Cup fungus is usually harmless, but monitor closely if:
- Plants start wilting
- Soil remains constantly wet
- Other fungal diseases appear
- Mushrooms spread rapidly
Expert insight:
Rapid fungal spread is more about soil imbalance than the fungus itself.
12. Insider Tips from Garden Experts
Tip 1: Focus on Soil Health, Not Just Removal
Healthy soil prevents most fungal issues.
Tip 2: Avoid Over-Fertilizing
Excess nutrients can promote fungal growth.
Tip 3: Use Compost Carefully
Fully decomposed compost reduces fungal outbreaks.
Tip 4: Rotate Mulch Types
Different materials reduce fungal buildup.
Tip 5: Monitor After Rainfall
Fungi often appear within 24–72 hours after heavy rain.
Conclusion: Understanding Cup Fungus the Right Way
Cup fungus in gardens is usually not a threat but a natural sign of organic decomposition and moisture-rich soil conditions. Instead of viewing it as a harmful problem, it should be treated as an indicator of garden balance.
The most effective approach is:
- Control moisture levels
- Improve soil drainage
- Maintain proper airflow
- Reduce excess organic buildup
When these conditions are managed, cup fungus naturally decreases and the garden becomes healthier and more stable over time.