
Organize thousands of photos for home decor can feel overwhelming at first. Whether you’ve collected family memories, travel shots, or aesthetic inspiration over the years, the challenge isn’t just sorting them—it’s turning them into something meaningful and visually appealing in your space.
This guide breaks down the smartest, most practical way to organize large photo collections specifically for home decor. It combines professional organization strategies with interior styling insights, so your photos don’t just sit in folders—they become part of your home’s story.
Why Photo Organization Matters in Home Decor
Before jumping into the process, it’s important to understand why organization matters.
A well-organized photo collection:
- Saves time when decorating or redecorating
- Helps you create cohesive visual themes
- Prevents duplication and clutter
- Makes your home feel more personal and intentional
Disorganized photos, on the other hand, often lead to random displays that feel chaotic rather than curated.
Step 1: Gather All Your Photos in One Place
Start by collecting every photo you have, both digital and physical.
What to include:
- Old printed albums
- Loose prints in drawers or boxes
- Phone photo libraries
- Cloud storage (Google Drive, iCloud, etc.)
- USB drives and external hard drives
This step gives you a clear picture of the volume you’re working with.
Pro Tip:
Don’t organize as you gather. Just collect everything first—sorting comes later.
Step 2: Digitize Physical Photos
If you have printed photos, converting them to digital format is a game-changer.
Why digitize?
- Easier to organize and search
- Safer backup options
- More flexibility for printing and decor use
How to do it:
- Use a high-quality scanner
- Try scanning apps for smartphones
- Save files in high resolution (at least 300 DPI)
Create a dedicated folder labeled something like:
“Scanned Photos – Raw”
Step 3: Create a Clear Folder Structure
A messy folder system leads to frustration. Keep it simple and logical.
Recommended structure:
Main Folder: Home Decor Photos
- Family Photos
- Travel Photos
- Events & Celebrations
- Aesthetic / Art Shots
- Seasonal Photos
Inside each folder, create subfolders by year or category.
Example:
Family Photos → 2022 → Weddings
Best Practices:
- Use consistent naming
- Avoid long, complicated titles
- Stick to 2–3 levels of folders max
Step 4: Remove Duplicates and Low-Quality Images
This is where you cut down the clutter.
Delete:
- Blurry photos
- Duplicates
- Screenshots you don’t need
- Near-identical shots
Keep:
- Emotionally meaningful images
- High-resolution photos
- Photos that fit your decor style
Rule of Thumb:
If you have 10 similar photos, keep only the best 1–2.
This step alone can reduce your collection by 30–50%.
Step 5: Tag and Label Photos for Easy Access
Tags make it much easier to find photos later.
Use tags like:
- “Living Room Display”
- “Black & White”
- “Warm Tones”
- “Minimalist”
- “Gallery Wall”
You can also tag by:
- People (family members)
- Locations
- Events
Why tagging matters:
Instead of digging through folders, you can quickly search by theme or mood.
Step 6: Choose a Home Decor Style for Your Photos
Before printing or displaying anything, decide on a visual direction.
Popular styles:
1. Minimalist
- Clean frames
- Neutral tones
- Simple layouts
2. Vintage
- Sepia or black & white photos
- Wooden or antique frames
3. Modern Gallery Wall
- Mixed sizes
- Grid or asymmetrical layout
4. Color-Themed
- Warm tones (beige, brown, gold)
- Cool tones (blue, gray, white)
Key Tip:
Your photos should match your room’s color palette and design style.
Step 7: Create a “Favorites for Decor” Collection
Not every photo belongs on your walls.
Create a separate folder:
“Top Picks for Home Decor”
Selection criteria:
- High resolution
- Clear subject
- Emotional value
- Matches your decor theme
Limit this folder to your best 50–200 photos.
Step 8: Decide How You Want to Display Photos
Now comes the creative part—turning photos into decor.
Display Ideas:
1. Gallery Wall
- Perfect for living rooms or hallways
- Mix sizes but keep spacing consistent
2. Photo Ledges
- Easy to swap photos anytime
- Great for seasonal updates
3. Large Statement Prints
- One or two oversized images
- Works well above sofas or beds
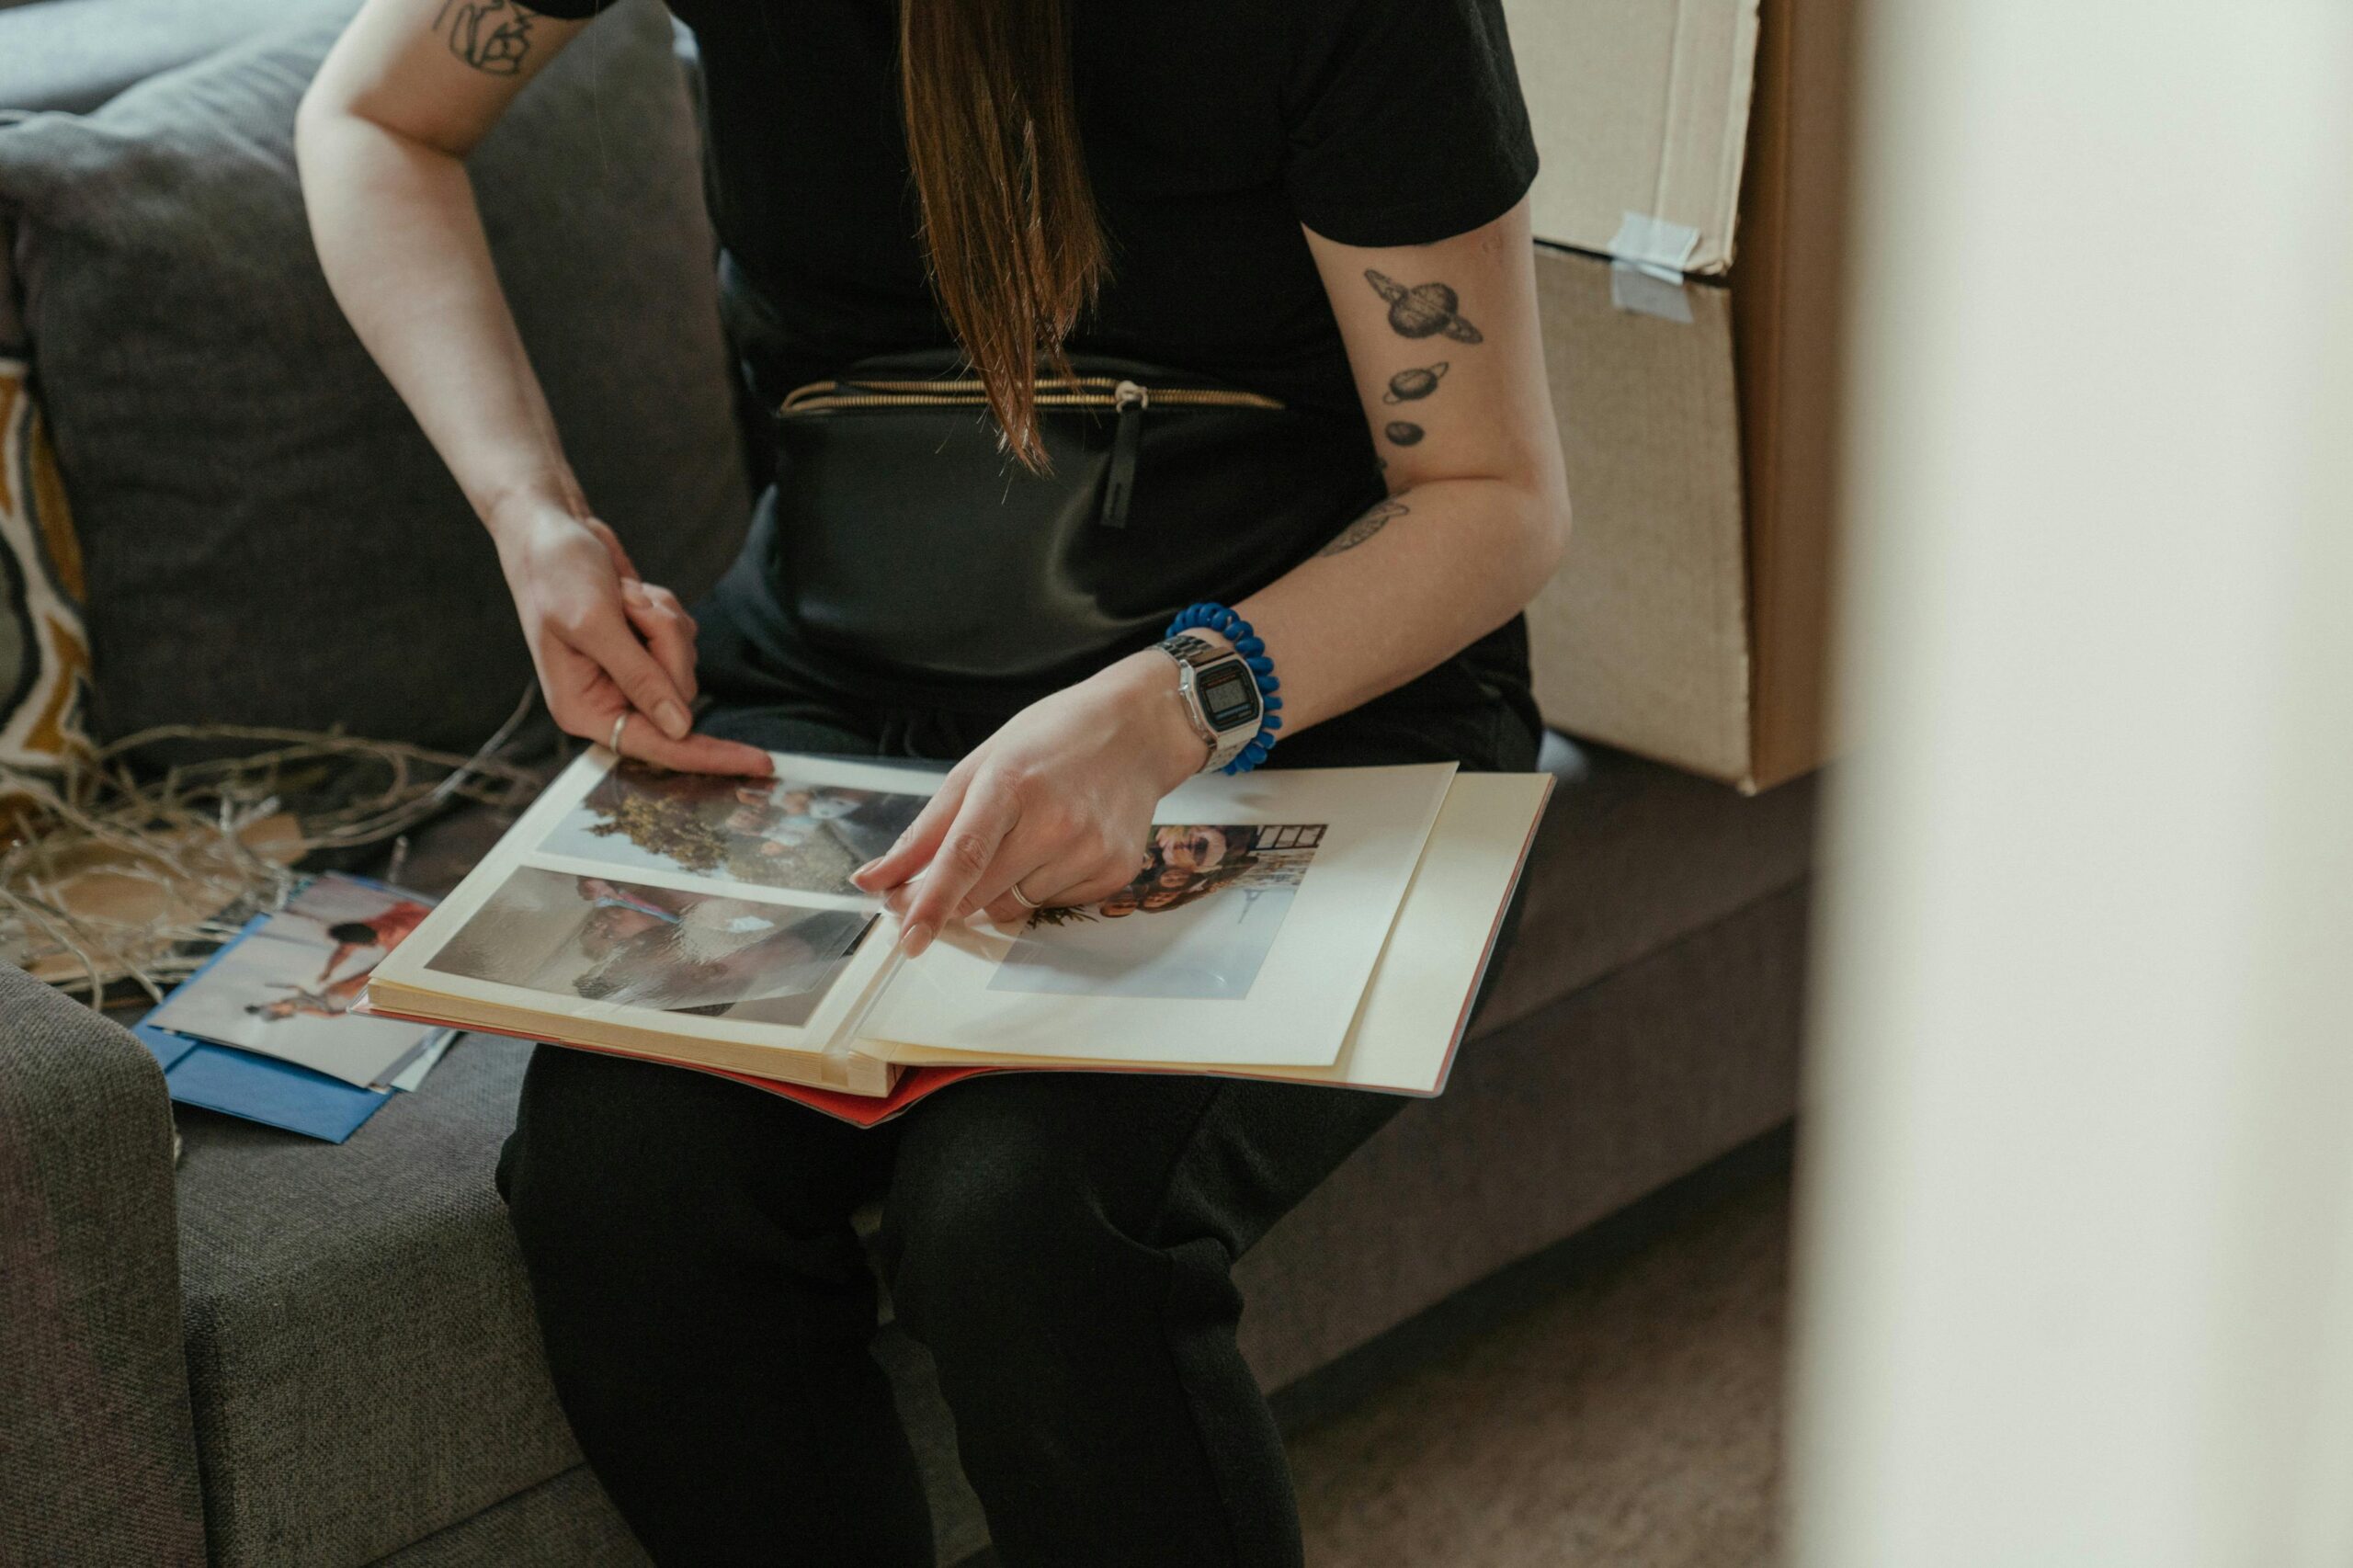
4. Photo Albums as Decor
- Coffee table books
- Styled stacks
5. Digital Frames
- Rotating photo slideshows
- Ideal for showcasing large collections
Step 9: Organize Photos by Room
Different spaces in your home can tell different stories.
Living Room:
- Travel photos
- Family highlights
- Artistic shots
Bedroom:
- Personal, calming images
- Romantic or peaceful scenes
Hallways:
- Timeline-style family photos
- Milestones and events
Home Office:
- Motivational or meaningful memories
Organizing by room helps you maintain emotional and visual balance.
Step 10: Use Consistent Printing and Framing
Consistency is key in home decor.
Choose:
- Similar frame colors (black, white, wood)
- Matching mat styles
- Consistent print finishes (matte or glossy)
Why it matters:
Even different photos look cohesive when framed consistently.
Step 11: Back Up Your Photo Collection
After all this work, protect your photos.
Use:
- Cloud storage (Google Photos, iCloud)
- External hard drives
- Backup services
Follow the 3-2-1 rule:
- 3 copies
- 2 different storage types
- 1 off-site backup
Step 12: Maintain Your System Over Time
Organization isn’t a one-time task.
Monthly or quarterly:
- Add new photos
- Remove unnecessary ones
- Update decor displays
Keep it simple:
Stick to the system you’ve created—don’t overcomplicate it.
Common Mistakes to Avoid
1. Keeping Too Many Photos
More isn’t better. Curate carefully.
2. Ignoring Quality
Low-resolution images don’t look good when printed.
3. Mixing Too Many Styles
Stick to one or two decor themes.
4. Skipping Backup
Losing photos is avoidable—always back up.
5. Overcrowding Walls
White space is just as important as photos.
Tools That Make Photo Organization Easier
You don’t have to do everything manually.
Helpful tools:
- Google Photos (auto-tagging and search)
- Adobe Lightroom (advanced organization)
- Apple Photos (easy integration for Apple users)
These tools can save hours of work, especially with large collections.
Expert Tips for a Professional Look
- Print in high resolution only
- Use natural lighting when photographing prints
- Stick to odd-number groupings for visual balance
- Align frames carefully—use a level tool
- Test layouts on the floor before hanging
Final Thoughts
The best way to organize thousands of photos for home decor isn’t about perfection—it’s about clarity and intention.
Start by simplifying your collection. Build a structure that makes sense. Then thoughtfully choose how to display your photos so they enhance your home rather than overwhelm it.
When done right, your photos become more than decoration. They tell your story, reflect your personality, and make your home feel truly yours.
Quick Recap
- Gather and digitize all photos
- Create a simple folder system
- Remove duplicates and low-quality images
- Tag and categorize efficiently
- Choose a consistent decor style
- Curate a “top picks” collection
- Display photos intentionally by room
- Maintain and back up regularly